🧶 Mastering the Basics of Loom Knitting
Are you ready to take your knitting skills to the next level? Look no further than our step-by-step guide to mastering the basics of loom knitting. Loom knitting is a fun and versatile technique that allows you to create beautiful projects without the need for traditional knitting needles. Whether you're a beginner or an experienced knitter looking to try something new, this guide will walk you through the essential steps of loom knitting.
Step 1: Threading the Loom
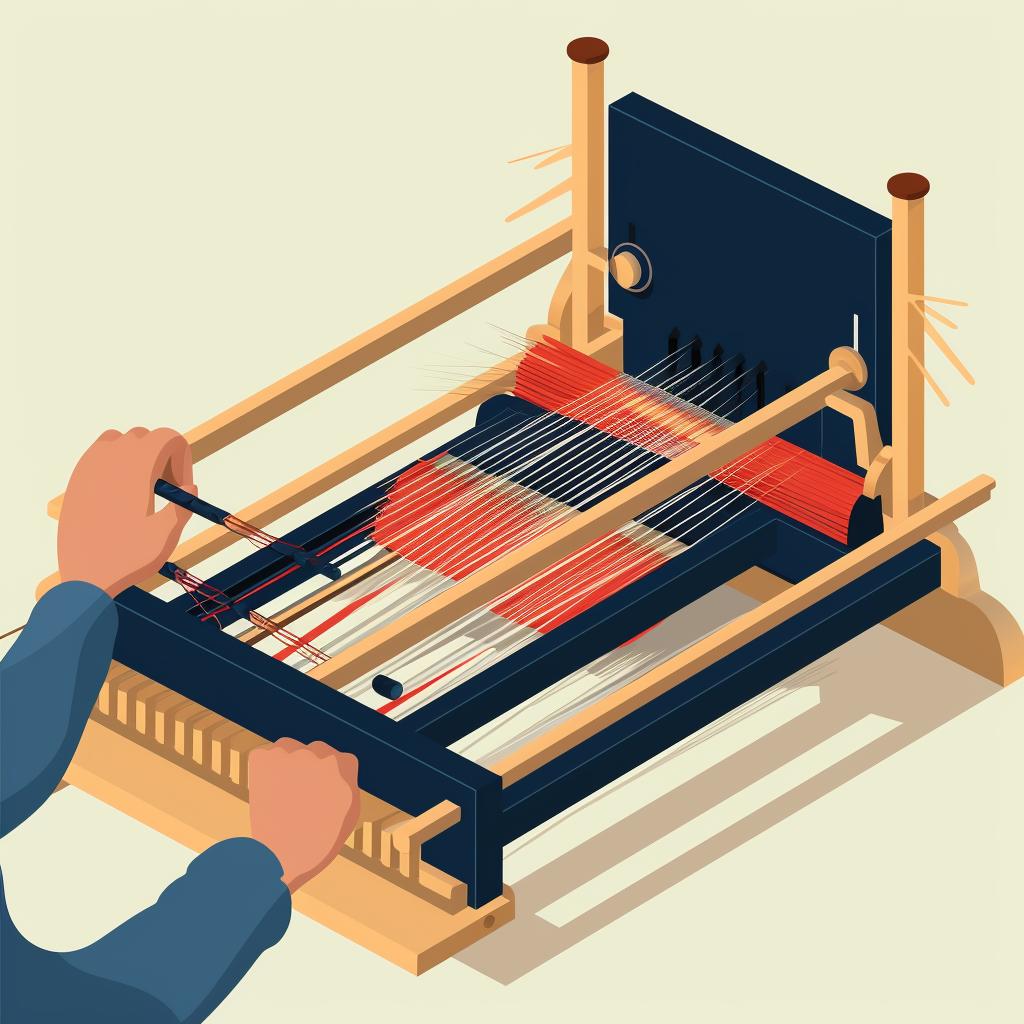
To start, secure the end of your yarn to the anchor peg on the side of the loom. Then, weave the yarn in and out of the pegs, going around the entire loom. Repeat this process to create two loops on each peg. This will serve as the foundation for your project.
Step 2: Creating an E-Wrap Stitch
The e-wrap stitch is a basic stitch used in loom knitting. To create this stitch, wrap the yarn around each peg in a clockwise direction, forming a cursive 'e'. Use your loom hook to lift the bottom loop over the top loop and off the peg. Repeat this process for each peg. The e-wrap stitch creates a stretchy and versatile fabric.
Step 3: Creating a Purl Stitch
The purl stitch adds texture and variety to your loom knitting projects. To create a purl stitch, place the working yarn below the loop on the peg. Use your loom hook to lift the loop off the peg, over the working yarn, creating a new loop. Pull the working yarn to tighten the new loop and place it back on the peg. Repeat this process for each peg.
Step 4: Creating a Knit Stitch
The knit stitch is another fundamental stitch in loom knitting. To create a knit stitch, place the working yarn above the loop on the peg. Use your loom hook to lift the loop over the working yarn and off the peg. The working yarn becomes the new loop on the peg. Repeat this process for each peg. The knit stitch creates a smooth and tight fabric.
Step 5: Binding Off
Once you've completed your loom knitting project, it's time to bind off. Start by knitting the first two pegs. Then, use your loom hook to lift the loop from the second peg and move it to the first peg. Lift the bottom loop over the top loop and off the peg. Move the remaining loop to the empty peg. Repeat this process until only one loop remains. Cut the working yarn, leaving a tail. Pull the tail through the last loop and tighten. Congratulations, you've successfully bound off your project!
Now that you've mastered the basics of loom knitting, the possibilities are endless. From cozy scarves and hats to blankets and sweaters, you can create a wide range of projects using this versatile technique. So grab your loom and yarn, and let your creativity soar. Happy loom knitting!
Remember, at Knit Fluent, we're here to guide you every step of the way. Check out our other guides, knitting patterns, and knitting machine reviews to further enhance your knitting journey.


