
Graham Stitchwell is a professional textile artist and knitting enthusiast. He enjoys experimenting with different materials and techniques to create unique, hand-knitted pieces.
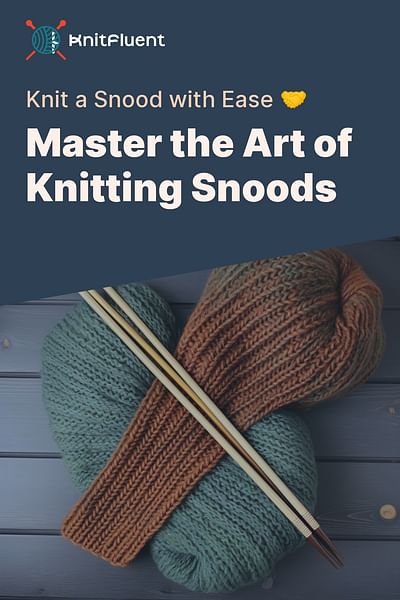
Hey there! If you're wondering how to knit a snood using straight needles, you've come to the right place. Knitting a snood is a fun and rewarding project that can keep you cozy and stylish all year round. And the best part? You don't need fancy equipment or circular needles to get started. With just a pair of straight needles and some yarn, you'll be well on your way to creating your very own snood masterpiece.
To knit a snood using straight needles, follow these simple steps:
1. Choose your yarn: Select a yarn that suits your style and desired level of warmth. Worsted weight yarn is a popular choice for snoods, but feel free to experiment with different weights and textures to achieve the look you want. Remember, the thicker the yarn, the chunkier your snood will be.
2. Determine your gauge: Before diving into your project, it's important to determine your gauge. This will help ensure that your snood turns out the right size. To do this, knit a small swatch using your chosen yarn and needles. Measure the number of stitches and rows per inch and adjust your needle size if needed.
3. Cast on: Start by casting on the desired number of stitches for your snood. The number of stitches will depend on the width you want your snood to be. For a standard snood, you can cast on around 30-40 stitches. If you prefer a tighter or looser fit, adjust the number of stitches accordingly.
4. Knit in your favorite stitch pattern: Once you've cast on, it's time to get creative with your stitch pattern. You can choose a simple stitch like garter stitch (knit every row) for a classic look, or experiment with more intricate patterns like ribbing or seed stitch. The choice is yours! Knit in your chosen stitch pattern until your snood reaches the desired length.
5. Bind off: When you're happy with the length of your snood, it's time to bind off. Knit the first two stitches, then pass the first stitch over the second stitch and off the needle. Continue this process until you have one stitch left on your right needle. Cut the yarn, leaving a long tail, and thread it through the last stitch to secure it.
6. Finishing touches: To complete your snood, weave in any loose ends and give it a gentle blocking if needed. Blocking can help even out your stitches and give your snood a polished look. Simply wet your snood, squeeze out the excess water, and lay it flat to dry.
And there you have it! You've successfully knitted a snood using straight needles. Now you can rock your stylish creation and stay warm and cozy wherever you go. If you're looking for more snood inspiration or other knitting projects, be sure to check out Knit Fluent for a wide range of knitting patterns, tips, and tutorials. Happy knitting!

People also asked


Knit Fluent Articles


All Rights Reserved © 2025