
Check hook and yarn
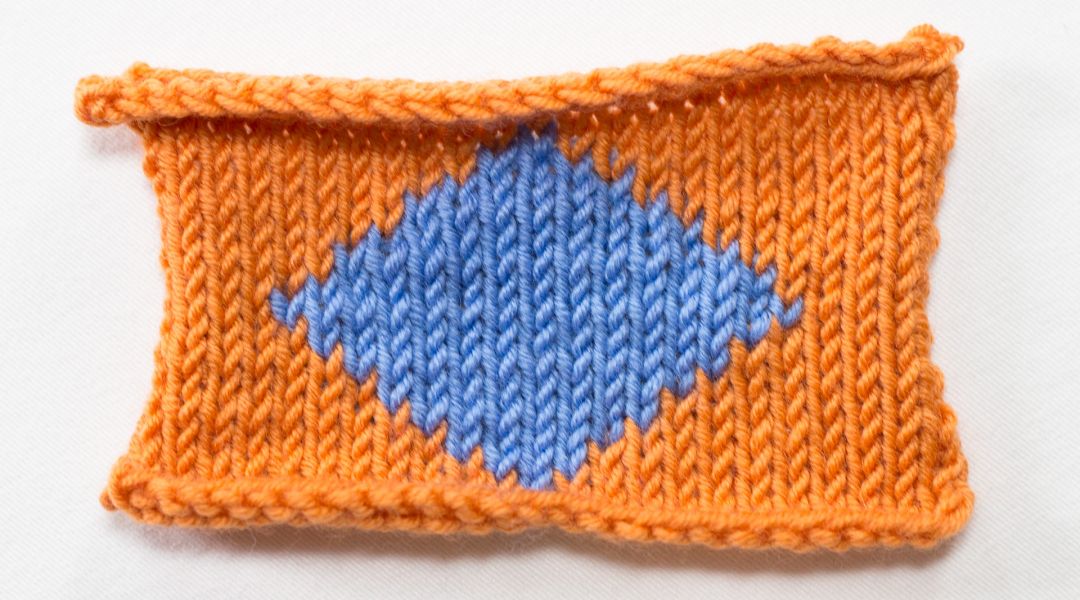
Intarsia knitting relies on separate bobbins or balls of yarn for each color block. This setup differs from stranded colorwork, where you carry unused yarn across the back. Because you are not carrying yarn, the tension and preparation of your materials determine whether your sweater lies flat or twists into a tight knot.
Start by inspecting your knitting needles. The hook or needle tip must be smooth and free of burrs. Intarsia requires frequent stops and starts to change colors. A rough or damaged tip will snag your yarn, creating holes or weak spots in the fabric that are difficult to fix later. If you are using wooden needles, sand down any rough edges before you begin.
Next, prepare your yarn management system. You need individual lengths of yarn for each color section. Avoid long balls that can tangle or roll off the table. Wind small, manageable lengths—usually 10 to 12 inches longer than the width of the color block. This extra length prevents the yarn from pulling tight when it runs out mid-row.
Finally, verify your yarn weights. Mixing yarns of different thicknesses in the same project creates uneven fabric. If you are using a pattern, check that all color yarns are from the same dye lot and weight category. Consistent yarn weight ensures your color blocks sit flush against each other, creating a clean, professional finish.
Work the stitches in order
Intarsia knitting differs from stranded colorwork because you use separate bobbins or balls of yarn for each color block. The goal is to create distinct panels without dragging yarn across the back of the work. To achieve this, you must manage the tension and joining of yarns carefully as you move from one color to another.
1. Set up your bobbins
Before you begin knitting, wind each color of yarn onto a bobbin. A small wooden bobbin, a piece of cardboard, or even a plastic spool works well. The key is to keep the yarn free of tangles. If the yarn twists as you knit, the fabric will pucker. Place the bobbins in order from left to right on a table or in a basket, matching the order of colors in your pattern. This setup allows you to pick up the correct yarn without reaching across the work.
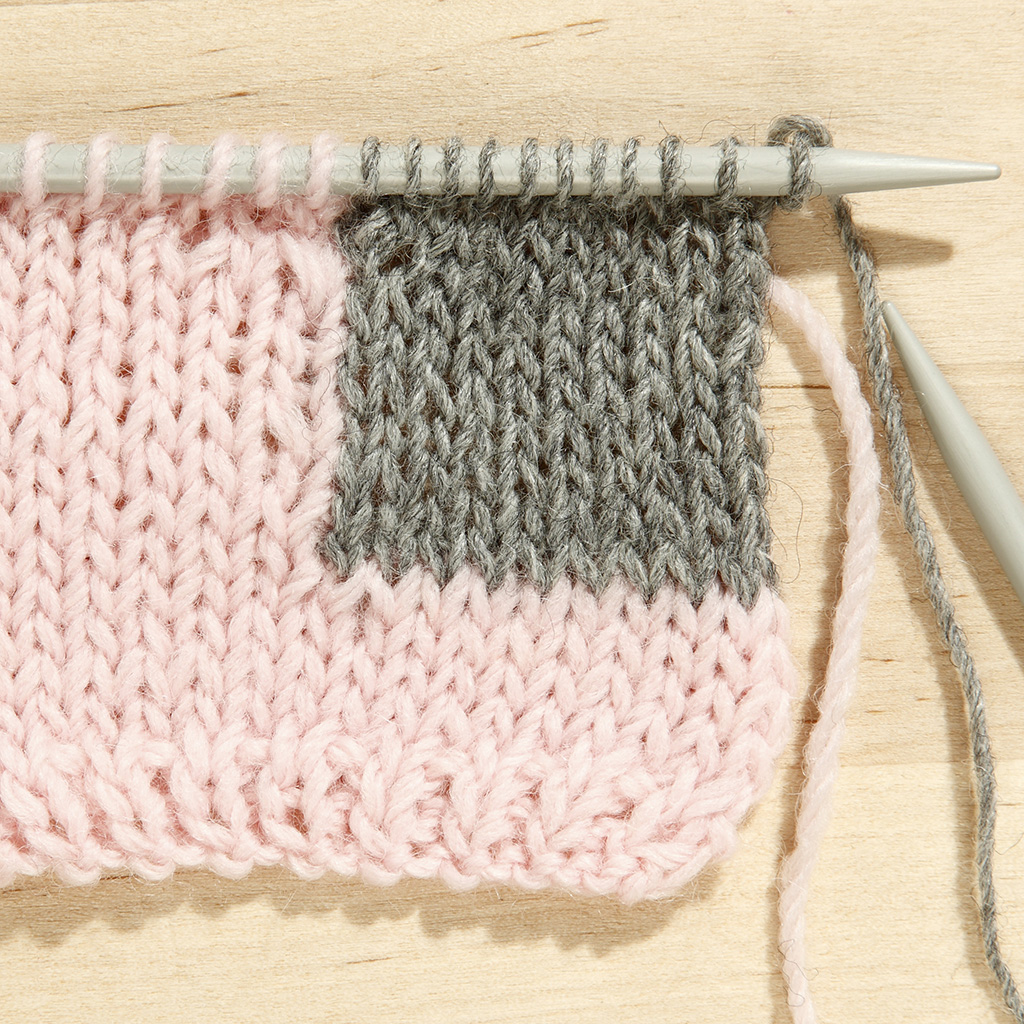
2. Knit the first color block
Start by knitting with your main color (MC) as instructed by your pattern. Work across the row until you reach the last stitch of the first color block. At this point, do not cut the yarn. Instead, leave a tail and continue with the next color. Keep the working yarn loose enough to avoid tightening the fabric, but tight enough to prevent holes. The tension here sets the baseline for the rest of the row.
3. Join the new color
When you switch to a new color, twist the yarns to lock the join. Hold the old yarn and the new yarn together as you knit the first stitch of the new color. This twist prevents a hole from forming at the color change. If you are switching from a lighter color to a darker one, the twist will be nearly invisible. If you are switching from dark to light, the twist might show slightly, but it ensures the structural integrity of the fabric. Always twist the yarns on the side where the new color is being introduced.
4. Work the next block
Continue knitting with the new color across its designated stitches. As you approach the end of this block, prepare for the next color change. Bring the next color yarn up and twist it with the current working yarn before knitting the first stitch of the new block. This process creates a clean, diagonal join between the colors. Repeat this twisting method for every color change across the row.
5. Manage the yarn tails
As you work, the unused yarns from previous blocks will hang down behind your work. Do not cut these tails until you have finished the entire row. Dragging the yarn across the back of the work is a common mistake that creates loose floats and tangles. Instead, keep each color's yarn on its own bobbin or ball. As you move across the row, the unused yarns will naturally twist around each other, creating a stable, woven structure on the back of the fabric.
6. Finish the row
Once you have completed the entire row, you can cut the yarn tails if you are changing bobbins or starting a new section. Weave in the ends on the wrong side of the fabric using a tapestry needle. This secures the joins and prevents unraveling. Check your work to ensure the tension is even and the color blocks are aligned. If you notice any holes or loose stitches, you can pick them up and knit them again on the next row.
7. Repeat for subsequent rows
For the next row, repeat the same process. Start with the leftmost color block and move right. The twists from the previous row will help lock the structure in place. As you work, keep an eye on the back of the fabric to ensure the yarns are not twisting around each other excessively. If they do, gently untwist them before knitting the next row. Consistency in tension and twisting is the secret to smooth intarsia knitting.
8. Check your tension
Periodically stop and check the tension of your fabric. Intarsia can tighten up if you pull the yarns too hard during the twists. If the fabric feels stiff or puckered, try knitting with a slightly larger needle or loosening your grip on the yarn. The goal is a flexible, even fabric that drapes well. Remember that intarsia is a technique that requires patience and practice, but the results are worth the effort.
9. Secure the ends
When you finish a color block, weave in the end securely. Use a tapestry needle to pass the tail through the stitches of the same color on the wrong side of the fabric. This hides the end and prevents it from showing through to the right side. If you are changing colors frequently, you may have many ends to weave in. Take your time to ensure each one is secure. This step is crucial for the longevity of your garment.
10. Block your work
Once you have completed the intarsia section, block your work to even out the stitches and set the tension. Wet blocking or steam blocking works well for most yarns. Lay the fabric flat on a blocking mat and pin it to the correct dimensions. Allow it to dry completely before removing the pins. This final step helps the color blocks lie flat and the joins blend seamlessly into the fabric.
11. Inspect the back
After blocking, inspect the back of the fabric. The yarns should be twisted around each other, creating a stable, woven structure. There should be no long floats or loose ends. If you see any issues, go back and fix them before continuing. A well-executed intarsia join is almost invisible on the right side, but the back should look neat and organized.
12. Continue with the pattern
With the intarsia section complete, you can continue with the rest of your pattern. Whether you are knitting a sweater, a blanket, or a scarf, the principles of intarsia remain the same. Keep your bobbins organized, twist your yarns at each color change, and maintain consistent tension. With practice, you will find that intarsia becomes a natural and enjoyable part of your knitting toolkit.
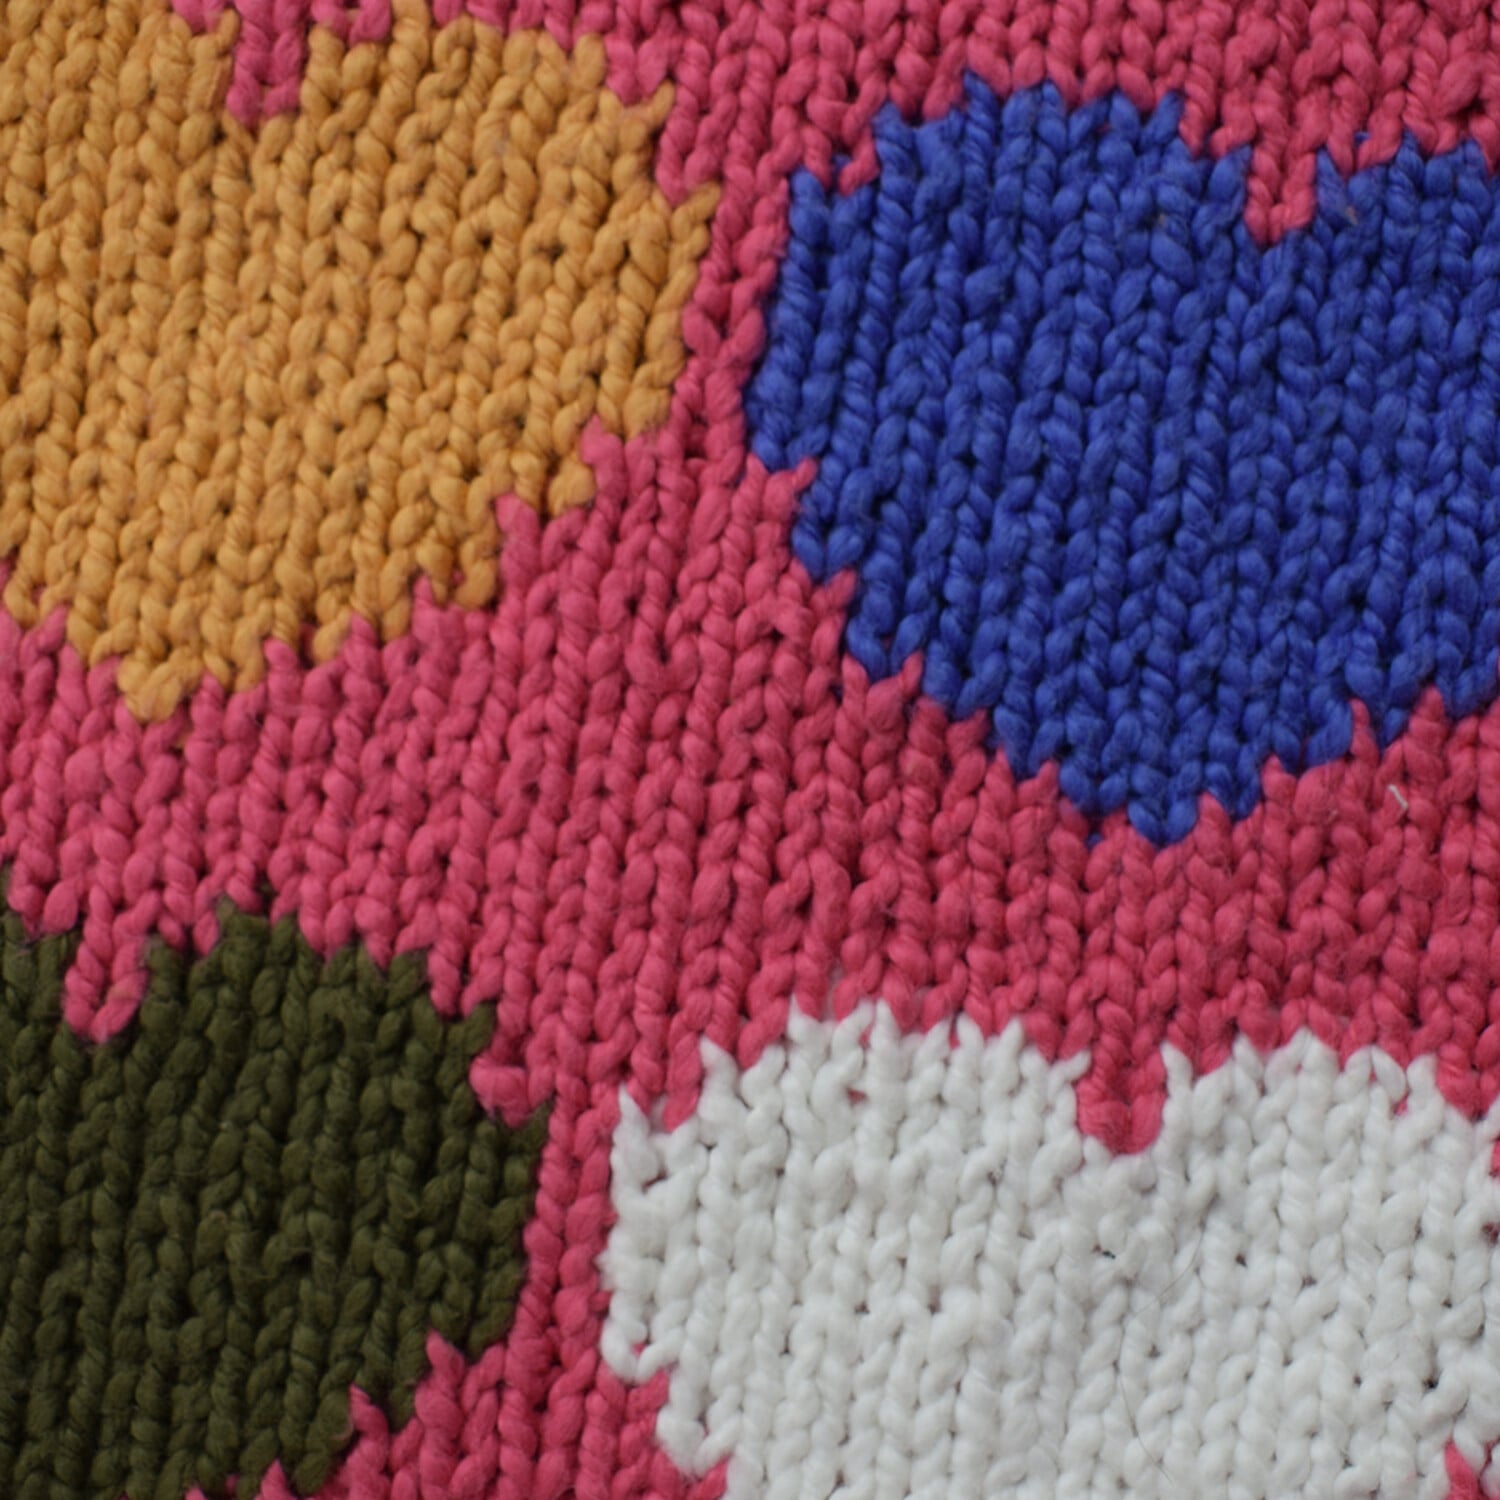
Mistakes that warp the shape
Intarsia knitting creates clean color blocks, but the technique is unforgiving if you ignore tension. Because each color section floats independently across the back of the work, loose stitches or tight joins pull the fabric out of alignment. The result is a sweater that twists, bubbles, or looks like it has been stretched unevenly.
The most common error is twisting the yarn when switching colors. When you move from the main color to a contrast color, the two strands must cross over each other at the transition point. If you wrap the new yarn around the old one instead of laying it over, you create a knot. This knot tightens with every subsequent stitch, pulling the fabric into a permanent ridge that distorts the pattern.
Another frequent mistake is letting the bobbins or yarn cakes drag too far behind the work. In intarsia, each color block uses its own separate length of yarn. If you pull the yarn from a distant ball, you create excess slack. This slack collects on the wrong side of the fabric, causing loose loops that snag and warp the shape. Keep the yarn source close to the needle to maintain consistent tension.
Finally, avoid joining colors too tightly. Some knitters cinch the new yarn tight to prevent holes, but this creates a rigid line that restricts the fabric’s natural stretch. The join should be snug but flexible. If the fabric feels stiff along the color boundaries, your tension is likely too tight.
Intarsia knitting: what to check next
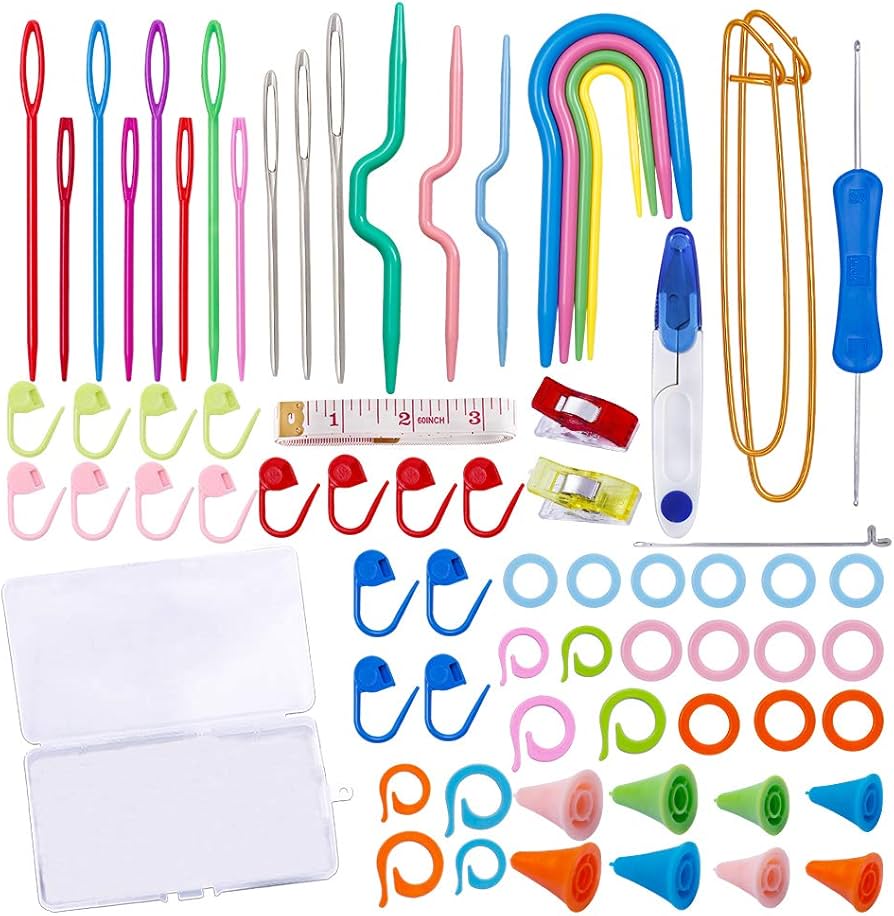
Helpful gear
Use these product recommendations as a starting point, then choose the size, material, and price point that fit how you actually use the gear.

As an Amazon Associate, we may earn from qualifying purchases.
Work through to Intarsia Knitting & Loom Techniques
No comments yet. Be the first to share your thoughts!