
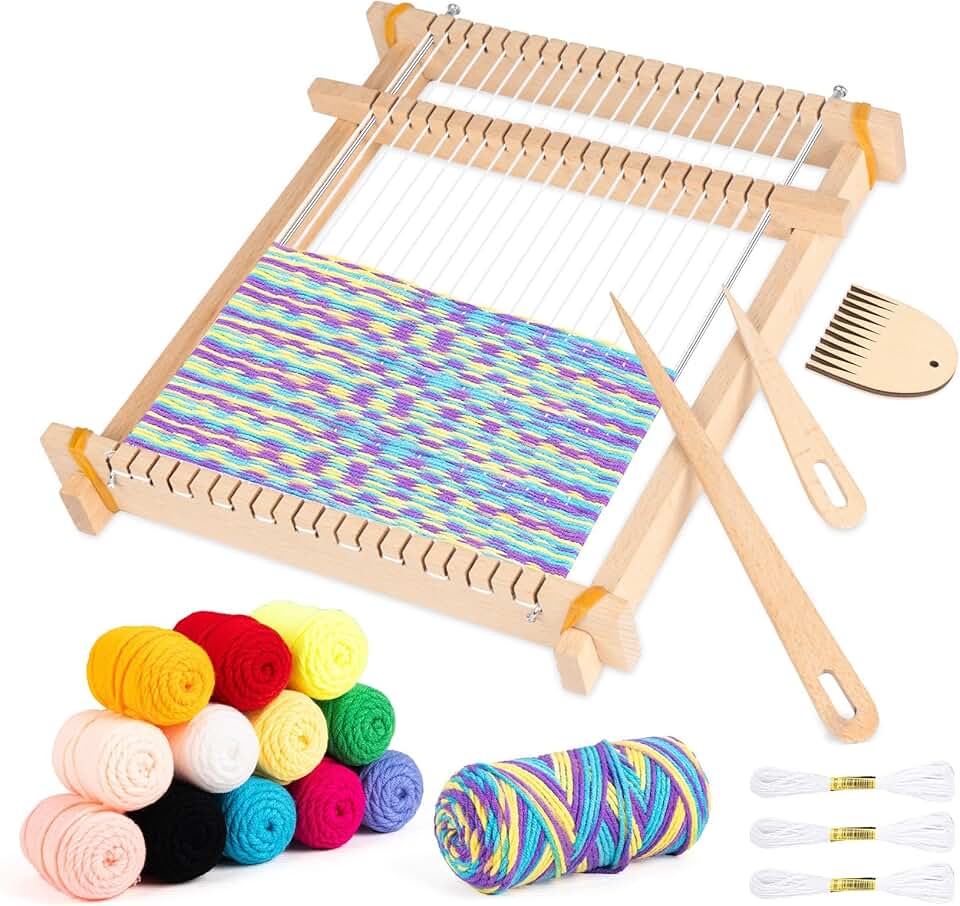

What makes a good loom knitting kit
A quality loom knitting kit removes the guesswork from your first project. Instead of hunting for compatible tools and yarn separately, a well-curated starter pack provides everything needed to cast on, knit, and bind off successfully. The difference between a frustrating hobby and a satisfying craft often comes down to three specific components: the loom material, the peg design, and the included yarn.
Durable, Smooth Pegs
The loom itself is the engine of the craft. For beginners, wooden or high-quality plastic looms are preferred because they offer grip and durability. Look closely at the pegs; they should be smooth and rounded. Rough edges or sharp plastic burrs can snag yarn, causing frustration and uneven stitches. Adjustable pegs are a bonus, allowing you to change stitch sizes without buying multiple looms, though fixed pegs are perfectly fine for simple scarves and cowls.
Included Yarn Quality
The yarn included in the kit matters more than you might think. Cheap, overly slippery yarn can slide off the pegs too easily, while stiff, scratchy wool can be difficult to manipulate for new hands. A good kit typically includes a worsted weight acrylic or wool blend. These fibers have enough "stickiness" to hold their shape while you work, making the learning curve much less steep. If the kit provides yarn, check that it is a single color or simple variegated shade; complex colorwork is best left for after you master the basic knit stitch.
Essential Extras
Finally, a comprehensive kit should include a locking stitch marker or a small piece of yarn to hold your live stitches while you finish the project. Without this, your work can unravel unexpectedly. While some kits are loom-only, those that bundle the hook, marker, and yarn together offer the best value for someone just starting out.


As an Amazon Associate, we may earn from qualifying purchases.
Top loom knitting kits for beginners
Choosing the right loom knitting kit depends on whether you want to start with a small project like a hat or jump straight into a larger item like a scarf. The best kits for beginners bundle everything you need—looms, hooks, yarn, and instructions—so you can start knitting immediately without hunting for separate supplies.
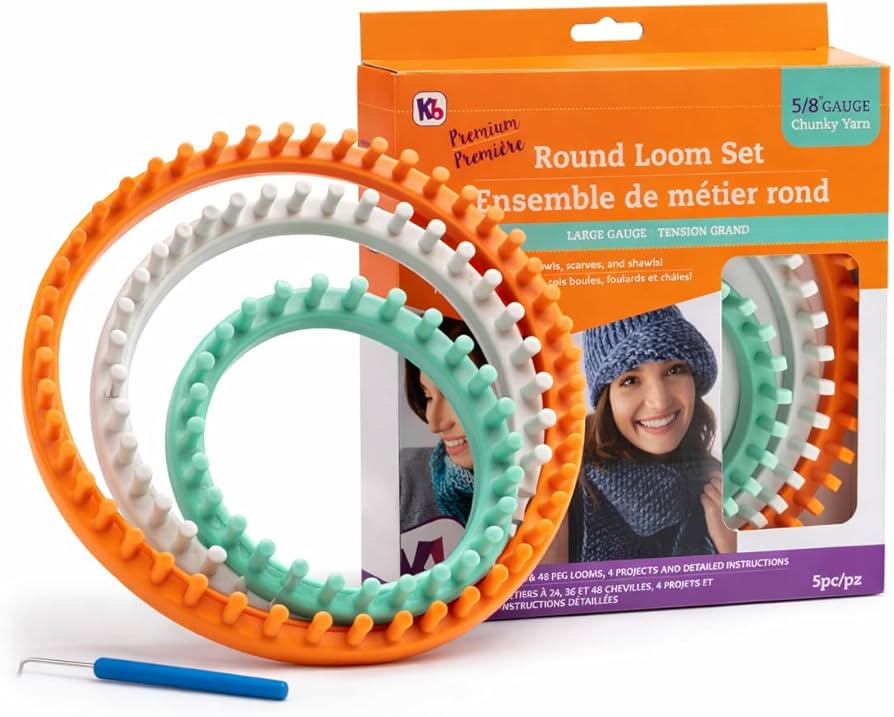
Hat kits are often the most popular starting point because they use a circular loom, which is intuitive for learning the basic knit stitch. Look for kits that include a medium-sized circular loom (around 6 inches in diameter) and a soft, medium-weight yarn that is easy to manipulate. This size allows you to finish a project quickly, providing a sense of accomplishment without a steep learning curve.
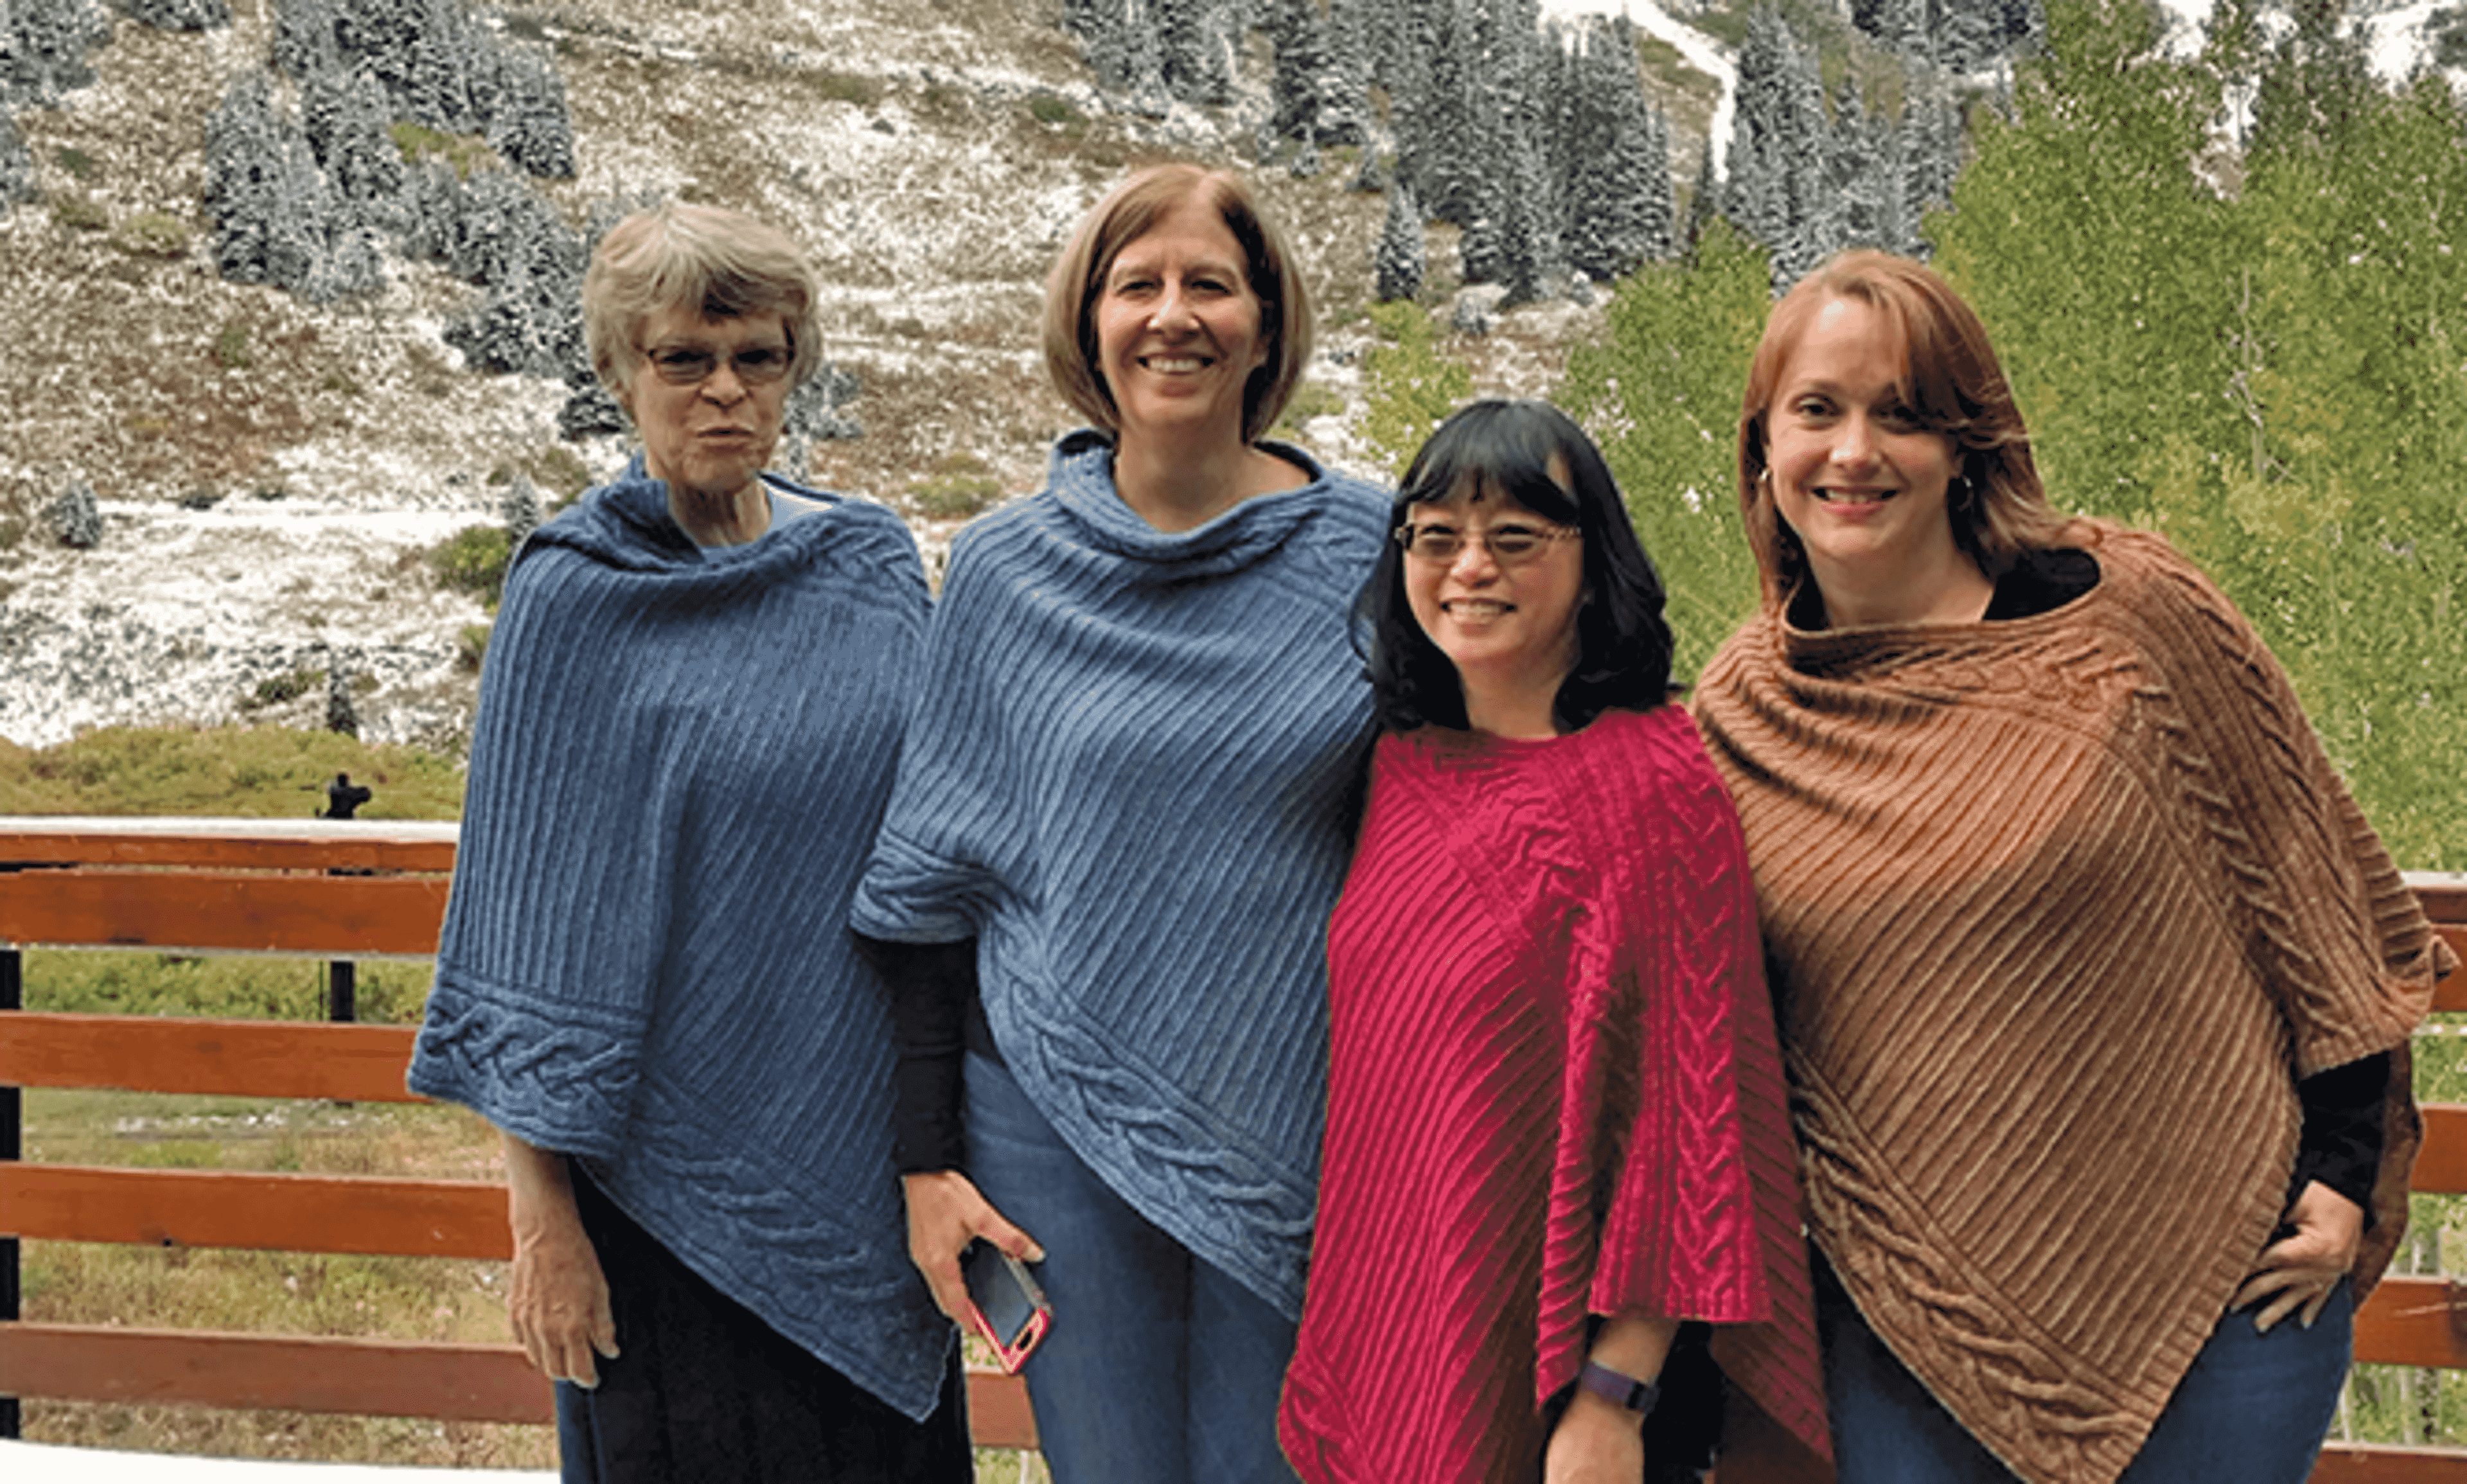
Flat rectangular looms are ideal for scarves and cowls. These kits typically include a long loom that lets you work back and forth in rows, mimicking the motion of traditional knitting needles. If you prefer a wider fabric or want to practice color changes, a flat loom kit is a practical choice. Ensure the kit includes a hook that fits the peg spacing of the loom for clean stitch removal.
A true beginner kit should include clear, step-by-step instructions or access to video tutorials. Some kits come with a printed booklet, while others provide a QR code linking to online resources. For visual learners, kits that reference specific video demonstrations are invaluable. Avoid kits that only list materials without guidance, as the learning curve for loom knitting can be steep without proper instruction.
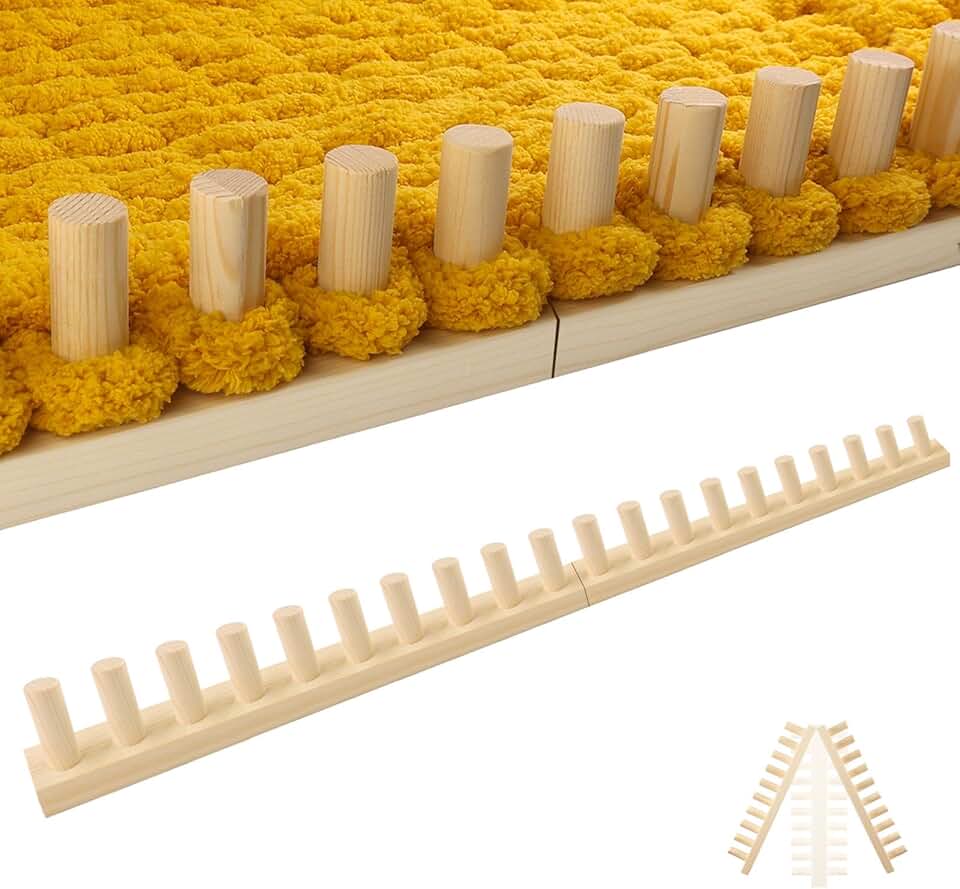


As an Amazon Associate, we may earn from qualifying purchases.
How to choose the right loom size
Choosing the correct loom size is less about personal preference and more about matching the physical properties of your materials. The relationship between peg spacing, yarn weight, and project type dictates the texture, warmth, and durability of your finished piece. Picking the wrong combination often results in fabric that is either too loose to hold shape or too tight to knit comfortably.
Think of peg spacing as the gauge of your knitting. Just as standard knitting needles have specific sizes for specific yarns, looms have a "pitch" (the distance between pegs) that determines how large each stitch will be. If you pair wide-spaced pegs with fine yarn, you will get a loose, open weave. If you use narrow-spaced pegs with bulky yarn, the fabric will be dense and stiff.
Matching Looms to Projects
Different projects require different densities. A scarf needs to be soft and drapeable, while an afghan needs structure and warmth. Here is how to align your loom choice with your intended project.
| Loom Pitch | Recommended Yarn Weight | Best For |
|---|---|---|
| 6mm - 8mm | Worsted (Medium) | Scarves, lightweight wraps |
| 10mm - 12mm | Bulky (Chunky) | Beanies, cowls, thick scarves |
| 14mm+ | Super Bulky | Quick afghans, throw blankets |
Why Yarn Weight Matters
Worsted weight yarn is the most versatile for beginners. It works well on standard 6mm-8mm looms, creating a fabric that is warm but still flexible. This is ideal for scarves and hats where you want the finished item to fit comfortably without feeling like a helmet.
For hats and beanies, you generally want a tighter stitch to block out the wind. A 10mm-12mm loom with bulky yarn creates a thick, warm fabric quickly. The larger pegs allow the bulky yarn to move easily, preventing the stiff, board-like texture that can happen if you try to force thick yarn through small pegs.
Afghans and blankets benefit from the largest pegs (14mm and up). These looms work best with super bulky yarn, allowing you to complete a large project in a fraction of the time. The resulting fabric is heavy and insulating, perfect for throws but potentially too stiff for clothing items that need to drape over shoulders.
Common Mistakes to Avoid
Beginners often assume that bigger is always better because it works faster. However, using a very large loom with thin yarn creates a net-like fabric that offers little warmth and may unravel easily. Conversely, forcing thick yarn onto a small peg loom can damage your fingers and result in a garment that is too tight to wear.
Always check the yarn label for recommended needle size and translate that to loom pitch. If the label suggests US size 8-10 needles, a 6mm-8mm loom is your best match. If it suggests US size 11-17, look for a 10mm+ loom.

As an Amazon Associate, we may earn from qualifying purchases.
Basic stitches to master first
Before you cast on for a hat or scarf, you need to learn the three stitches that make up almost every loom knitting project. Think of these stitches as your vocabulary; once you know them, you can build anything from a simple dishcloth to a complex cable knit. You don't need to memorize complex patterns right away. Just focus on getting your hands comfortable with the tool.
The E-wrap Stitch
The e-wrap is the most forgiving stitch for beginners. It creates a loose, elastic fabric that is perfect for hats and scarves where you want some stretch. To do it, wrap the yarn around the peg in a figure-eight shape before looping it over. This stitch is forgiving because it doesn't require perfect tension, making it ideal for your first few attempts at loom knitting.
The Knit Over Stitch
The knit over (or knit stitch) is the foundation of most structured loom knitting. It creates a tighter, more stable fabric than the e-wrap. You simply lift the bottom loop over the top loop and off the peg. This stitch is essential for items like dishcloths or bags where you want the fabric to hold its shape without stretching out.
The Purl Stitch
The purl stitch adds texture and reversibility to your work. While the knit stitch creates "V" shapes on the front, the purl creates bumps. Alternating knit and purl stitches allows you to create ribbing for cuffs and brims. It’s slightly more advanced than the first two, but mastering it unlocks the ability to make professional-looking edges on your projects.
Start with a thick yarn and a large peg loom. The e-wrap is easy to see and correct. Wrap the yarn around the peg in a figure-eight pattern, then lift the bottom loop over the top. Repeat this motion for about ten rows to get a feel for the tension.
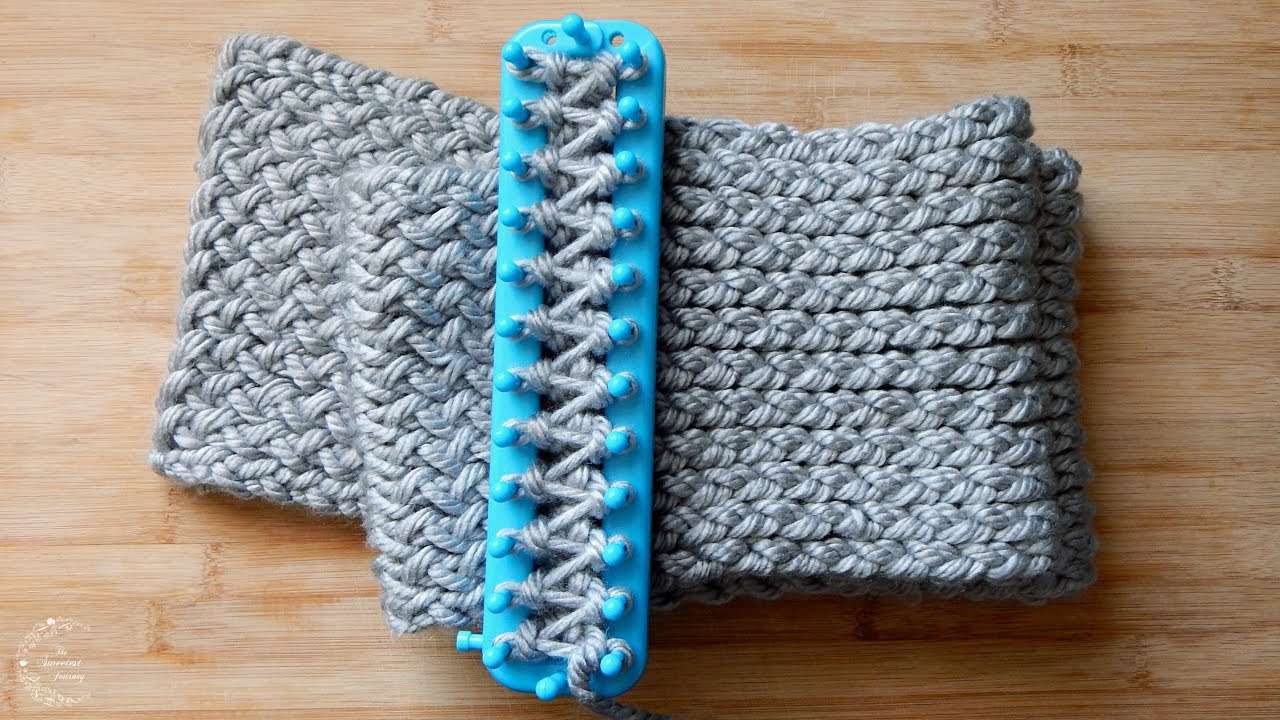
Once you are comfortable with the e-wrap, try the knit over. This stitch is tighter and requires a bit more precision. Use a smoother yarn to see the loops clearly. Lift the bottom loop over the top loop and off the peg. Practice this until the motion feels natural and consistent.
The purl stitch is the final piece of the puzzle. It is often done by bringing the yarn to the front of the peg before lifting the loop. This creates a bumpy texture on the side facing you. Try alternating knit and purl stitches to create a simple ribbed edge, which is common on hat brims.


As an Amazon Associate, we may earn from qualifying purchases.
Common loom knitting mistakes to avoid
Even with the best beginner loom knitting kits, a few technical hiccups can frustrate your first project. The most frequent issue is tension that is too tight, making it hard to lift the loops over the pegs. This usually happens when you pull the working yarn too hard after wrapping. Keep the yarn loose enough to slide easily; the loom does the work, not your grip.
Another common error is dropping a loop off the peg entirely. Once a loop falls, it unravels quickly, leaving a hole in your fabric. To prevent this, always keep your working yarn on the front of the peg while you lift the bottom loop over. If you are making a flat panel, remember that you knit only one side of the loom at a time, not both, to avoid twisting the fabric.
Finally, ensure your cast-on is secure but not constricted. A tight cast-on edge will make the entire piece curl or pucker. Use a simple e-wrap cast-on for beginners, as it provides a flexible starting point that matches the rest of your knitting. With these adjustments, your loom knitting experience will be smooth and enjoyable.
Frequently asked questions about loom knitting
Can I use any yarn with a loom knitting kit? Most beginner kits include worsted weight (medium) yarn, which is the standard for flat looms. You can substitute acrylic or wool blends, but thinner yarns like sport weight require smaller pegs to maintain stitch tension, while bulky yarn works best with wide-spaced pegs.
How do I choose the right loom size for my project? Match the peg spacing to your desired fabric density. Wide-spaced pegs create a loose, drapey fabric ideal for scarves and afghans. Narrow-spaced pegs produce a tighter, denser knit suitable for hats and socks. Flat looms are best for rectangular items, while circular looms are designed for tubular projects.
Is loom knitting harder than needle knitting? Loom knitting is generally considered easier for beginners because it eliminates the need to manipulate two needles. The process relies on a simple hook-and-lift motion that is easier to master than traditional cast-ons and binds. Many knitters find it less stressful for creating consistent stitches.
What are the best simple projects for a beginner kit? Start with flat rectangular projects like scarves or washcloths to practice basic e-wrap and knit-over stitches. Once comfortable, try small tubular items like beanies or wrist warmers. These projects use minimal yarn and allow you to master the technique without the complexity of shaping or sizing.
No comments yet. Be the first to share your thoughts!