
What knit fluent means
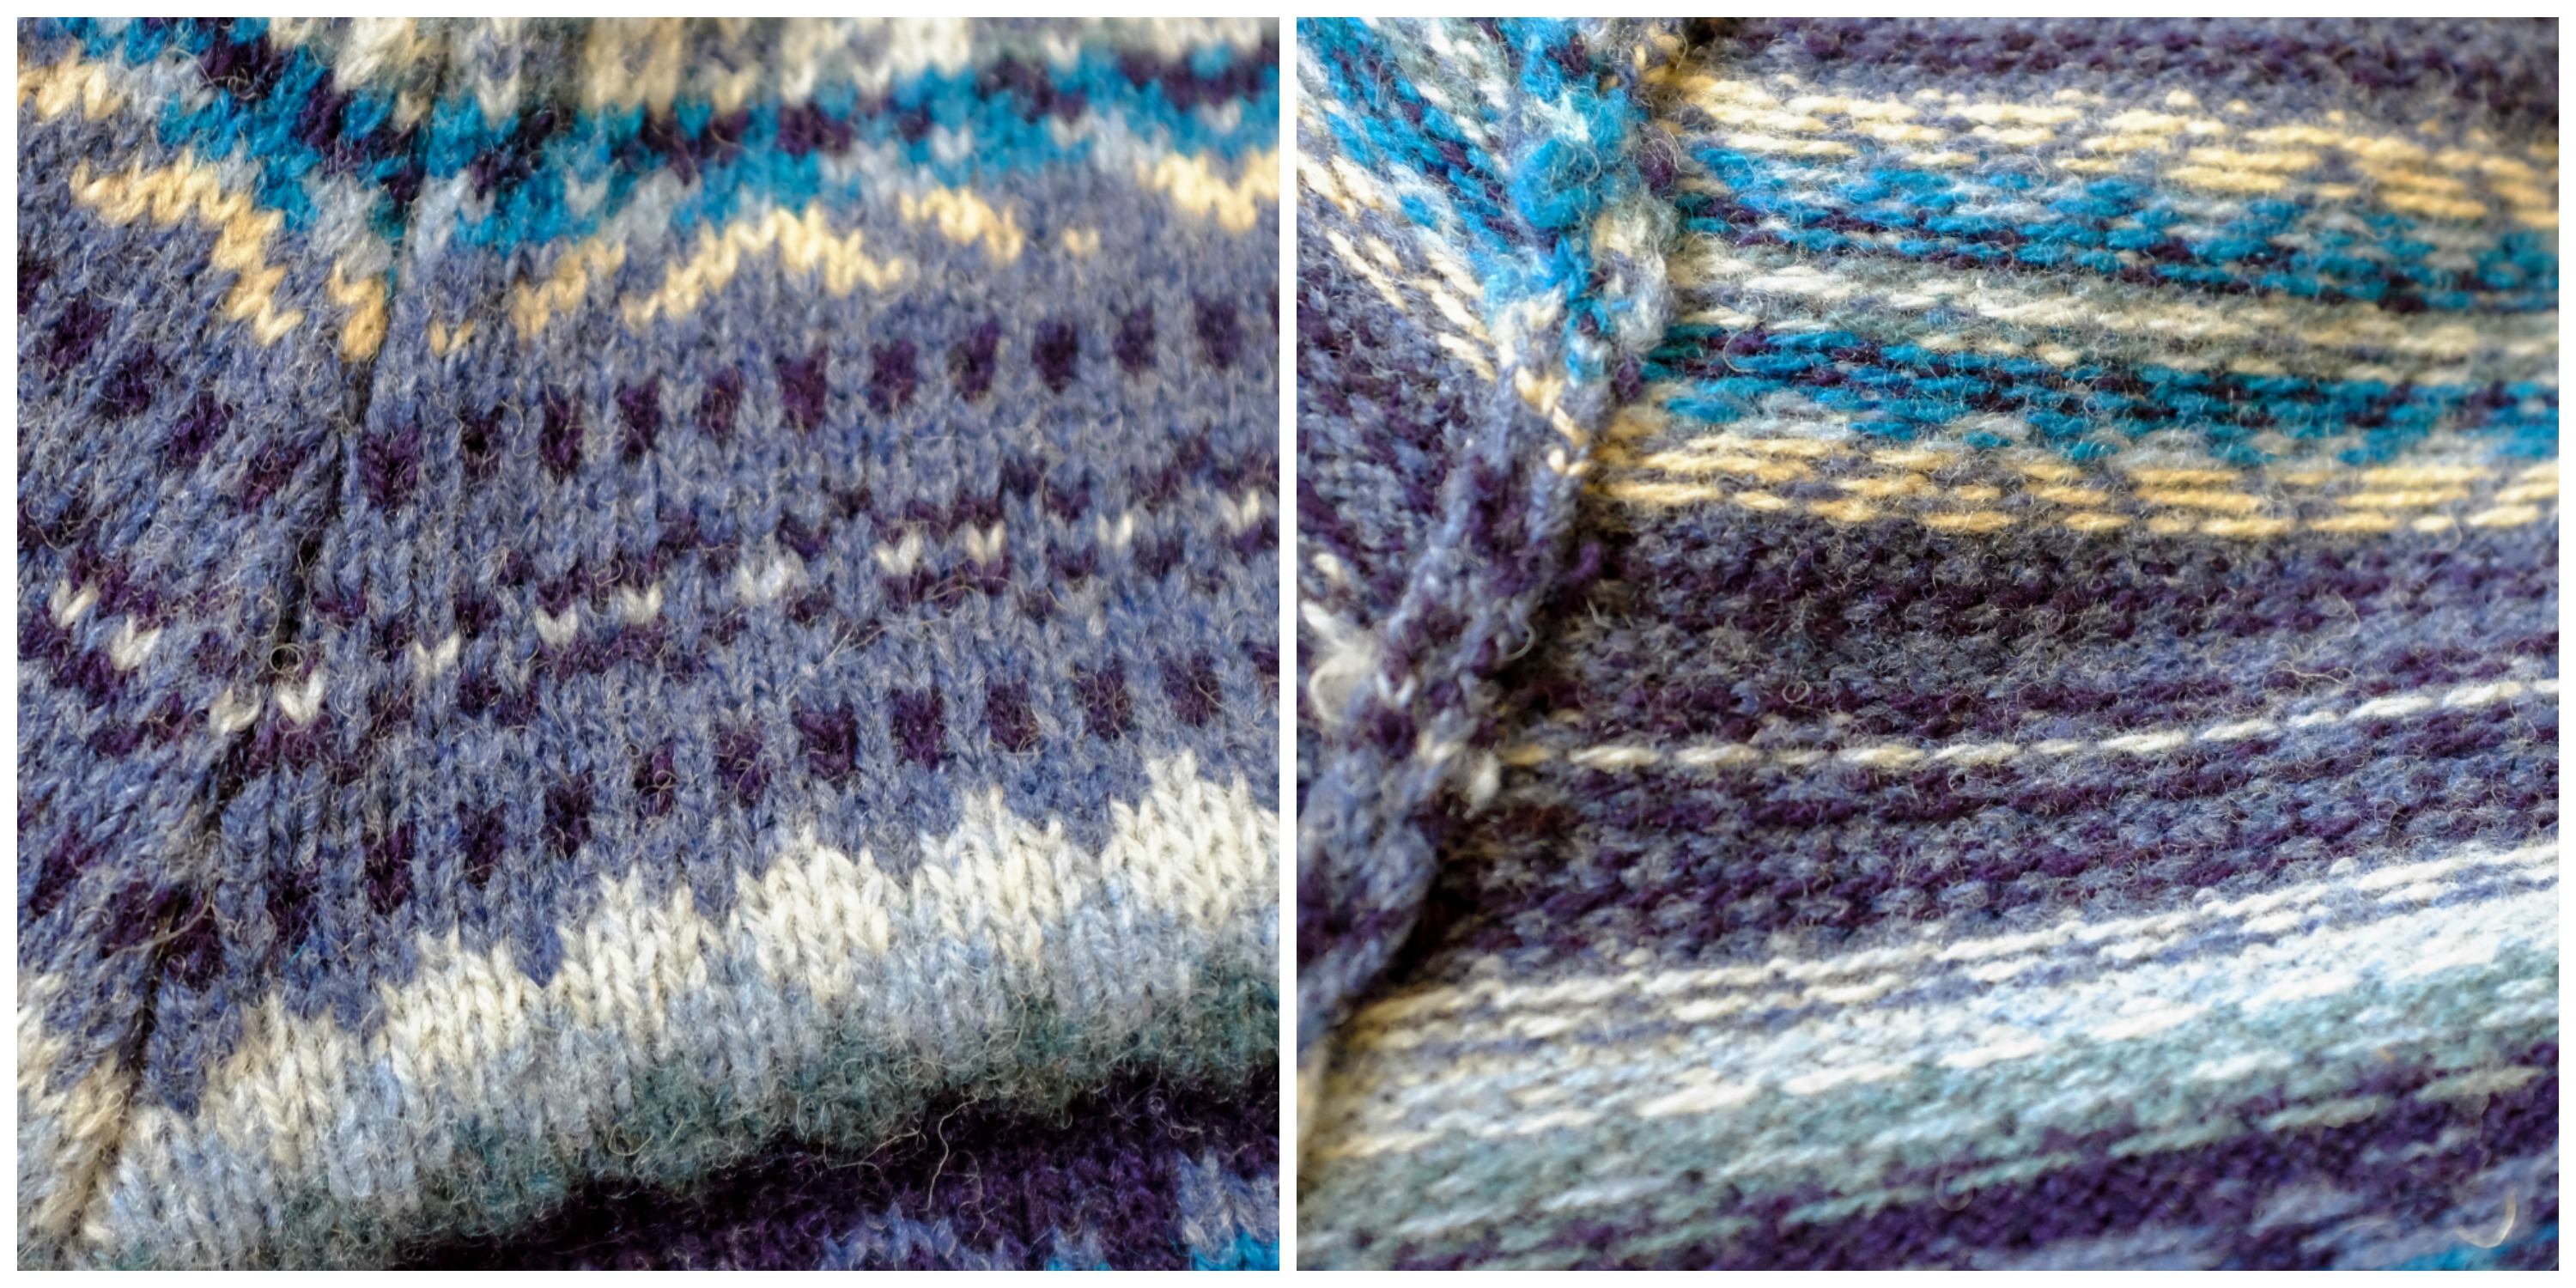
Being knit fluent is the ability to read complex stitch patterns and execute them without hesitation. It is the transition from counting every yarn-over to feeling the structure of the fabric. When you are fluent, your hands move ahead of your eyes, processing increases, decreases, and color changes as a single rhythm rather than a list of commands.
Think of it like language. Beginners memorize individual words like "knit" or "purl." Fluent knitters read sentences—sequences of stitches that create cables, lace, or intarsia blocks. You stop translating abbreviations and start seeing the shape the pattern is building.
This fluency is essential for advanced projects. Intarsia requires managing multiple bobbins without twisting, while loom knitting demands precise wrap counts to maintain elasticity. Without this foundational literacy, these techniques become frustrating puzzles. With it, they become intuitive processes.
Gather your knitting tools
You need different equipment depending on whether you are using the intarsia technique or a knitting loom. While the yarn remains the same, the tools that shape the fabric change significantly. Getting the right gear before you start prevents frustration later.
Hand knitting tools
For intarsia, you need standard straight or circular knitting needles. Choose needle sizes that match your yarn weight. You will also need a tapestry needle to weave in ends and stitch separate color blocks together. A row counter helps track progress, especially when managing multiple color bobbins.
Loom knitting tools
Loom knitting requires a rectangular or circular loom board with pegs. You need a loom hook to lift loops over the pegs. A comb or weaver’s pick helps pack down stitches to keep tension even. Some knitters prefer a tensioner or clip to hold the yarn tail while starting.
Common supplies
Both methods require good quality yarn, scissors, and a measuring tape. Keep a notebook handy to note your needle size or loom gauge. If you are new to either method, these basics cover the essentials.
Set up the intarsia technique
Intarsia knitting uses separate lengths of yarn for each color block, creating large, solid areas of color without the floats found in stranded knitting. The challenge isn't just the pattern; it's the mechanics of switching colors cleanly. If you don't manage the yarn tails correctly, you'll end up with holes or loose loops that unravel your hard work.
The secret to flawless intarsia lies in how you prepare your yarn and how you twist it at the edges. Think of each color as a separate island. You need to bring that island to the shore (the edge of the stitch) without letting it drift away. Here is the step-by-step process to set up your workspace for success.
By following this sequence, you create a stable framework for your intarsia pattern. The bobbins keep the yarn organized, and the twists ensure the fabric remains solid. Once these mechanics are in place, the actual knitting becomes a matter of following the chart, not fighting the yarn.
Build the sweater on the loom
Loom knitting offers a stable, forgiving way to construct the body of a sweater. The vertical pegs hold your stitches securely, allowing you to focus on tension and pattern without the constant risk of dropping loops. This method is particularly effective for chunky knits, as the wider gauge creates a dense, warm fabric quickly.
Cast on with the e-wrap method
Start by leaving a tail of yarn about six inches long. Wrap the yarn around each peg in a clockwise direction, going over the top and under the bottom. This e-wrap cast on creates a flexible edge that will sit comfortably against your skin. Ensure each wrap is even; inconsistent tension here will show in the final hem.
Knit the body rows
Using the loom hook, lift the bottom loop of yarn over the top loop and off the peg. Work from the inside peg outward on every row to maintain consistent tension. Continue this process until the piece reaches your desired length. For a standard sweater body, this usually means knitting until the fabric measures from shoulder to waist.
Bind off neatly
When the body is complete, cut the yarn, leaving a long tail. Thread the tail through the first loop on each peg using the hook, then pull tight. This secures the final row and prevents unraveling. Weave in the ends with a tapestry needle to hide them within the fabric structure.
Check your work
Before moving to the sleeves or finishing, measure the knitted panel against your pattern’s gauge. Loom knitting can vary slightly depending on the loom material and yarn thickness. If the piece is too tight, consider switching to a larger hook or loom for subsequent rows. A loose, airy fabric drapes better for sweaters than a stiff, tight one.
Fix common knitting errors
Intarsia and loom knitting are distinct crafts, and their mistakes look different. Intarsia errors usually show up as holes or loose loops where colors meet. Loom knitting errors typically manifest as loose, uneven edges or dropped stitches that unravel easily. Addressing these issues early prevents frustration later.
Intarsia holes and tension
Holes in intarsia blocks happen when the yarn isn't twisted enough at color changes. This leaves gaps that let light through and weaken the fabric. To fix this, twist the two yarns around each other once before crossing them. This creates a small knot that seals the gap. Keep the tension consistent; pulling too hard distorts the shape, while pulling too loosely creates baggy areas.
Loom loose edges
Loom knitting often suffers from loose cast-on and cast-off edges. This happens because the initial loop on the peg is too big or the final pull-through is too loose. To tighten the edge, use a smaller hook for the cast-on loop. When binding off, pull each stitch through the next with firm, even pressure. This ensures the edge matches the density of the rest of the fabric.
Watch the knitting process
Seeing the hands move clarifies what text descriptions can only hint at. This video demonstrates how to read stitch speak and execute the basic knit and purl movements essential for fluent knitting.
Use the video to pause and mimic the yarn tension and needle angle. Watching the rhythm helps you internalize the flow before you pick up your own needles.
No comments yet. Be the first to share your thoughts!