
Embark on Your Loom Knitting Journey: A Beginner's Guide 🧶
Ever found yourself tangled in a web of knitting needles, yearning for a simpler way to create cozy masterpieces? Or perhaps you've spent hours comparing knitting vs crochet, only to end up more confused than when you started? Well, my friend, the answer to your crafting conundrums could be loom knitting.
Imagine a world where casting on is as easy as looping yarn around pegs and where knitting classes are as close as your living room. Welcome to the world of loom knitting for beginners! It's a place where creating intricate patterns is no more complicated than the twist of a loom hook and where knitting machine reviews become a thing of the past.
From crafting a baby hospital hat knitting pattern to working on easy loom knitting projects, loom knitting is a versatile, accessible craft that's perfect for beginners. So, are you ready to dive into this wonderful world of yarn and creativity?
Your Loom Knitting Toolkit: Must-Have Supplies 🛠️
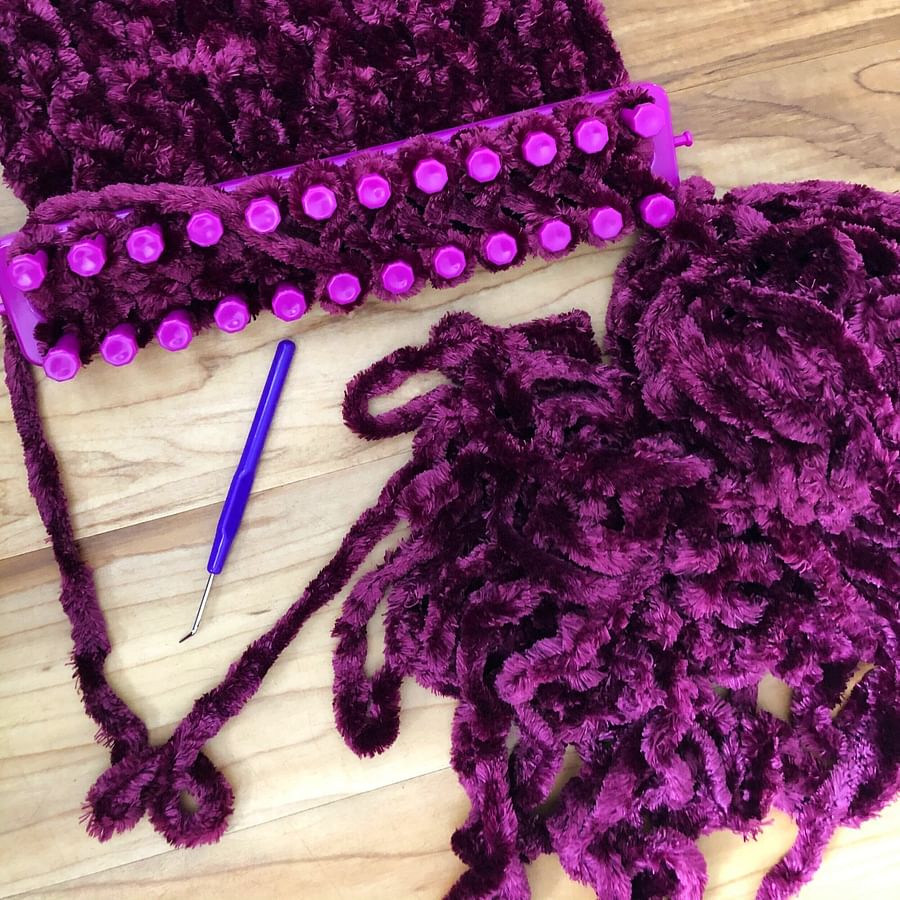
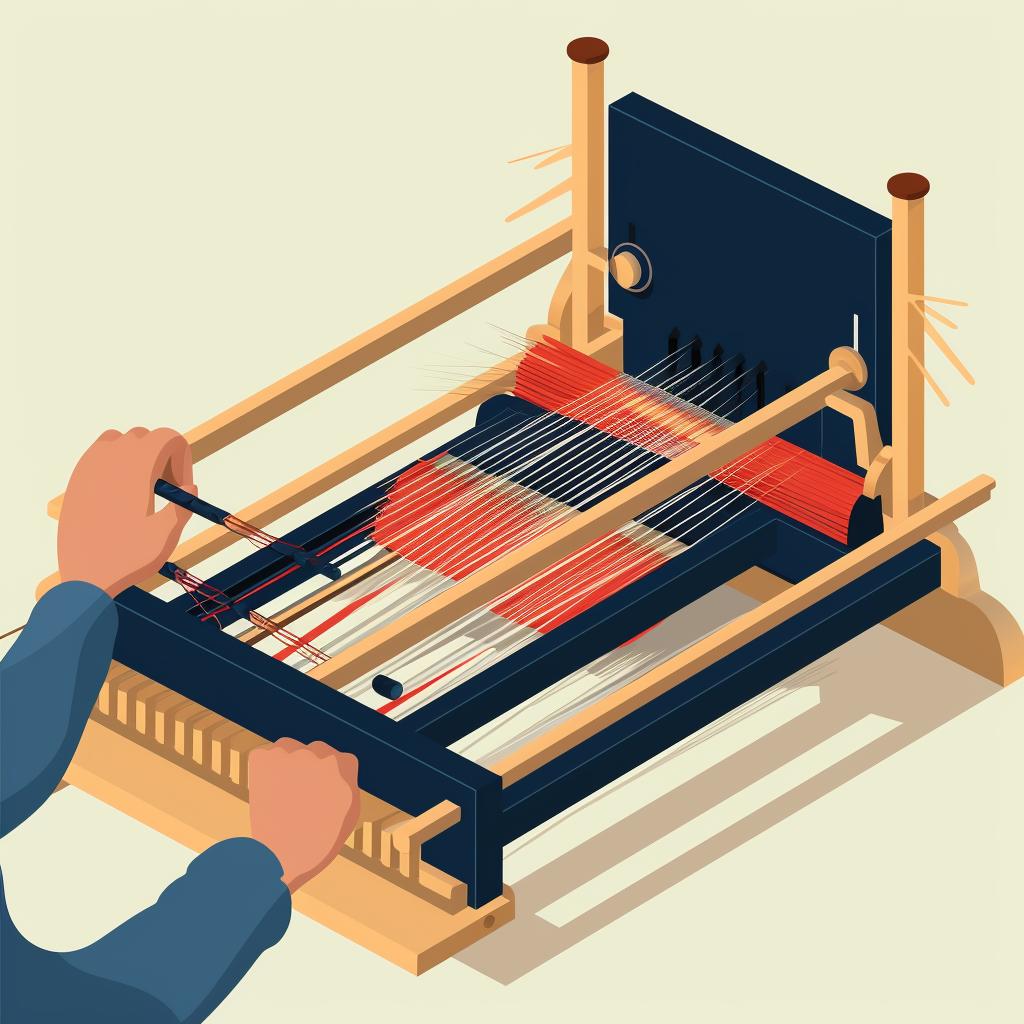
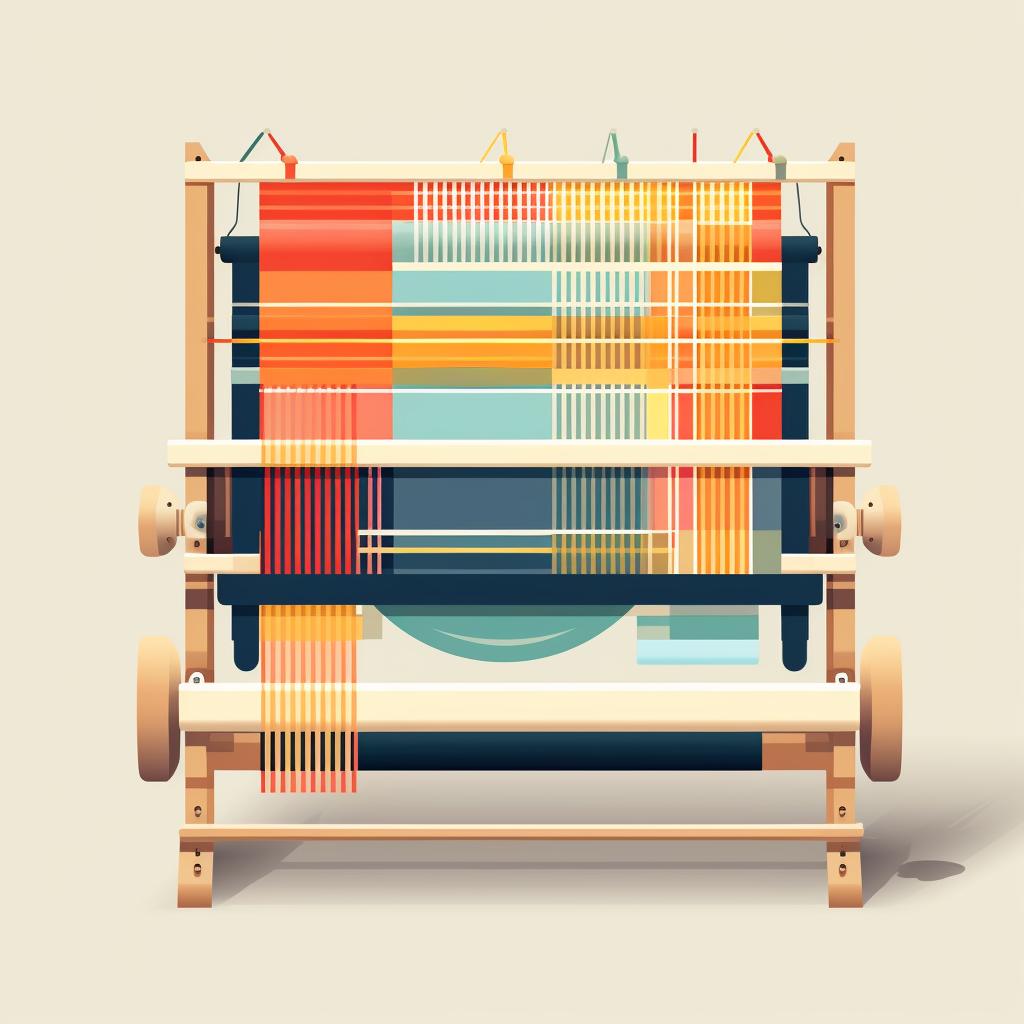
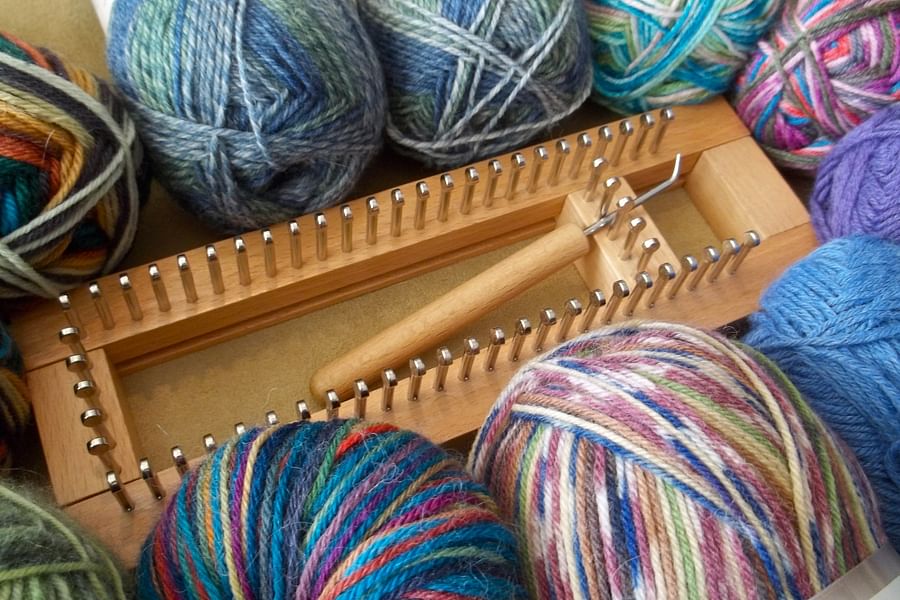
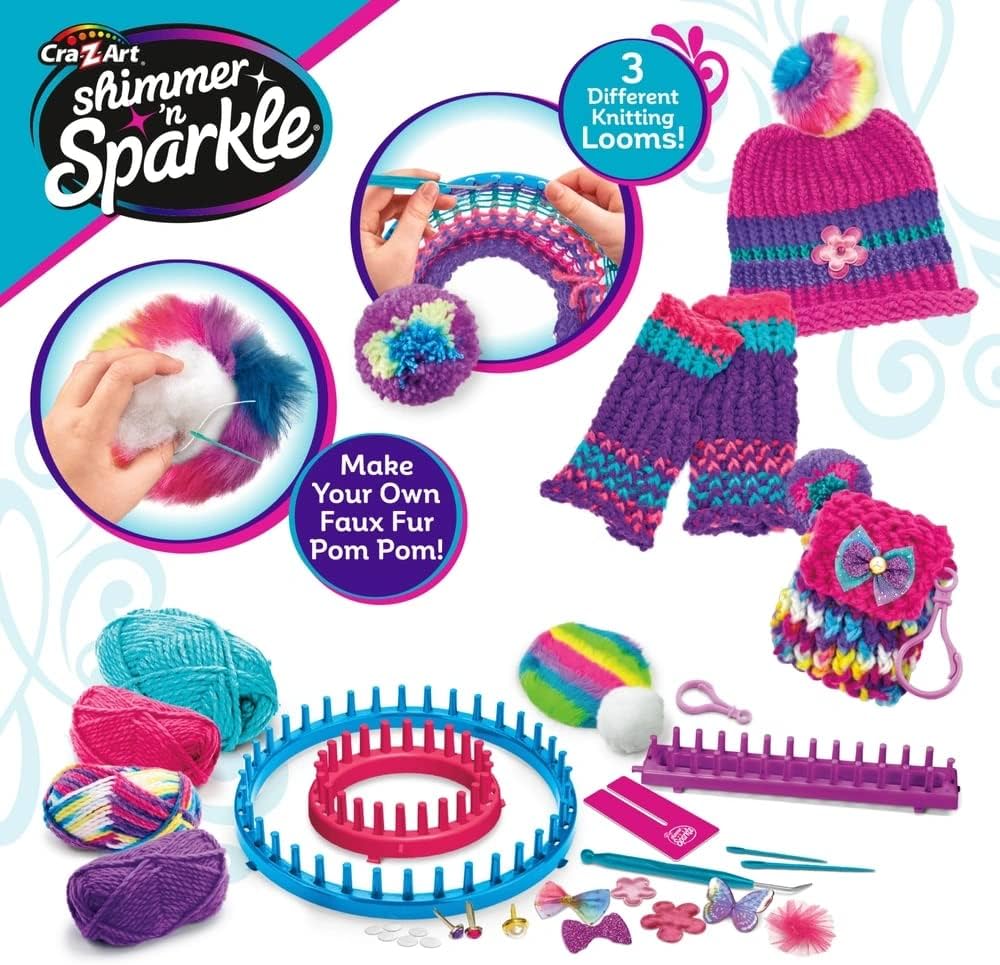
So, you're ready to dive into the world of loom knitting? Excellent! But before we start spinning tales with our yarn, let's gather our tools. You'll need a loom, of course. Think of it as your canvas, where all the magic happens. Knitting machine reviews often highlight the importance of choosing a loom that suits your needs. You'll also need a loom hook - your trusty wand that weaves the yarn into a beautiful pattern.
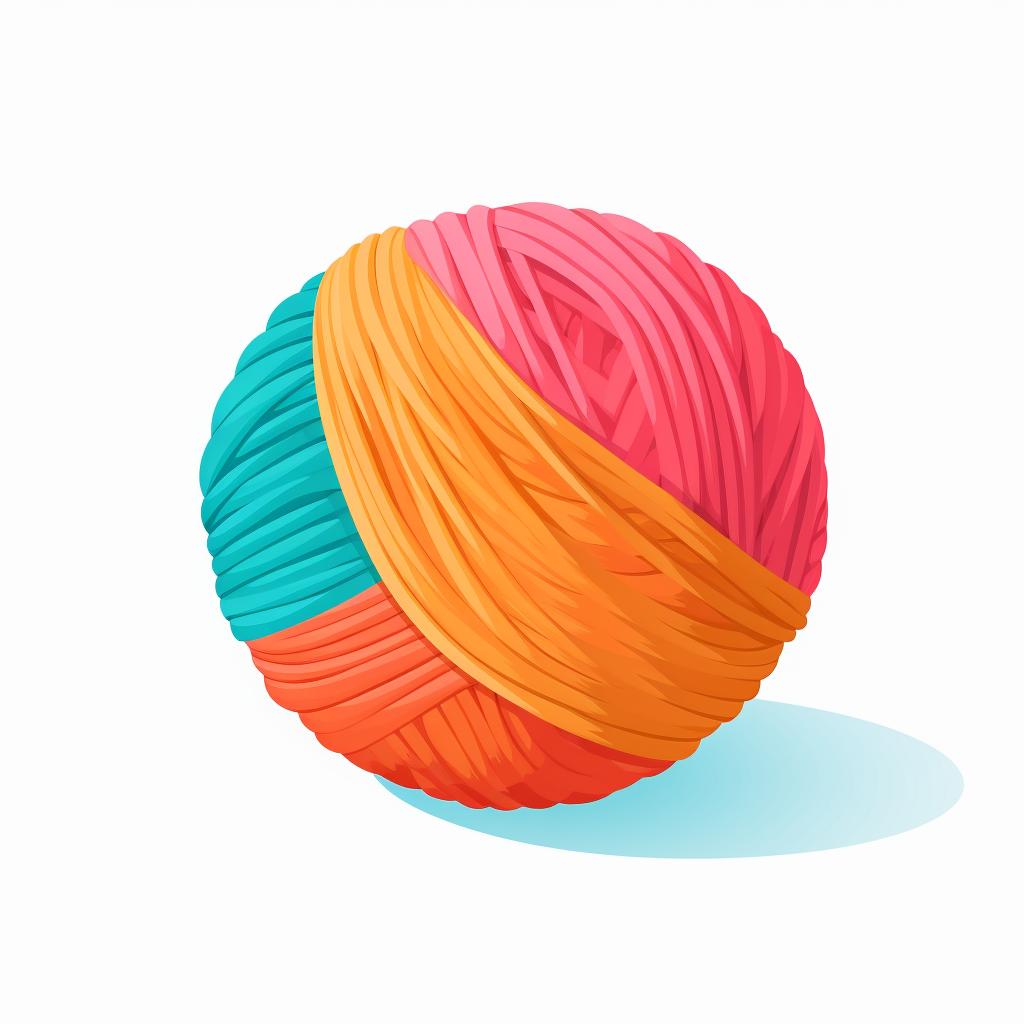
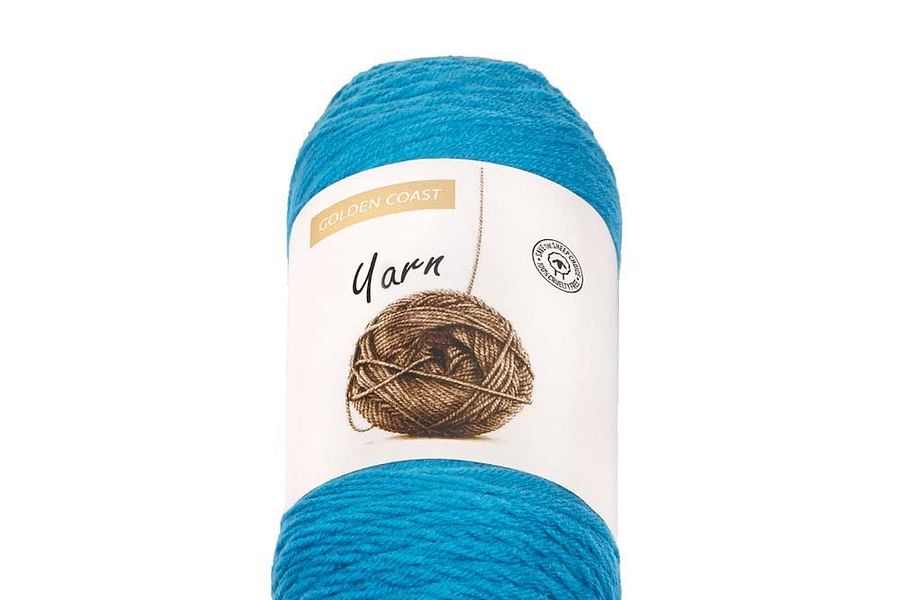
And speaking of yarn, oh, the possibilities! From chunky wool for a cozy baby hospital hat knitting pattern to silky threads for a stylish scarf, the choice is yours. But remember, as a beginner, simpler is often better. And don't worry, there's no crochet v knitting debate here; loom knitting is a world all its own, and you're about to become a part of it.
Finally, a casting on knitting guide will be your roadmap, leading you through the process step by step. But hey, if you're more of a hands-on learner, why not check out knitting classes near me? Whether you choose to learn online or in-person, you'll be creating easy loom knitting projects in no time!
Loom Knitting Essentials: Start Your Knitting Journey with Ease
Cracking the Code: Demystifying Loom Knitting Basics 📚
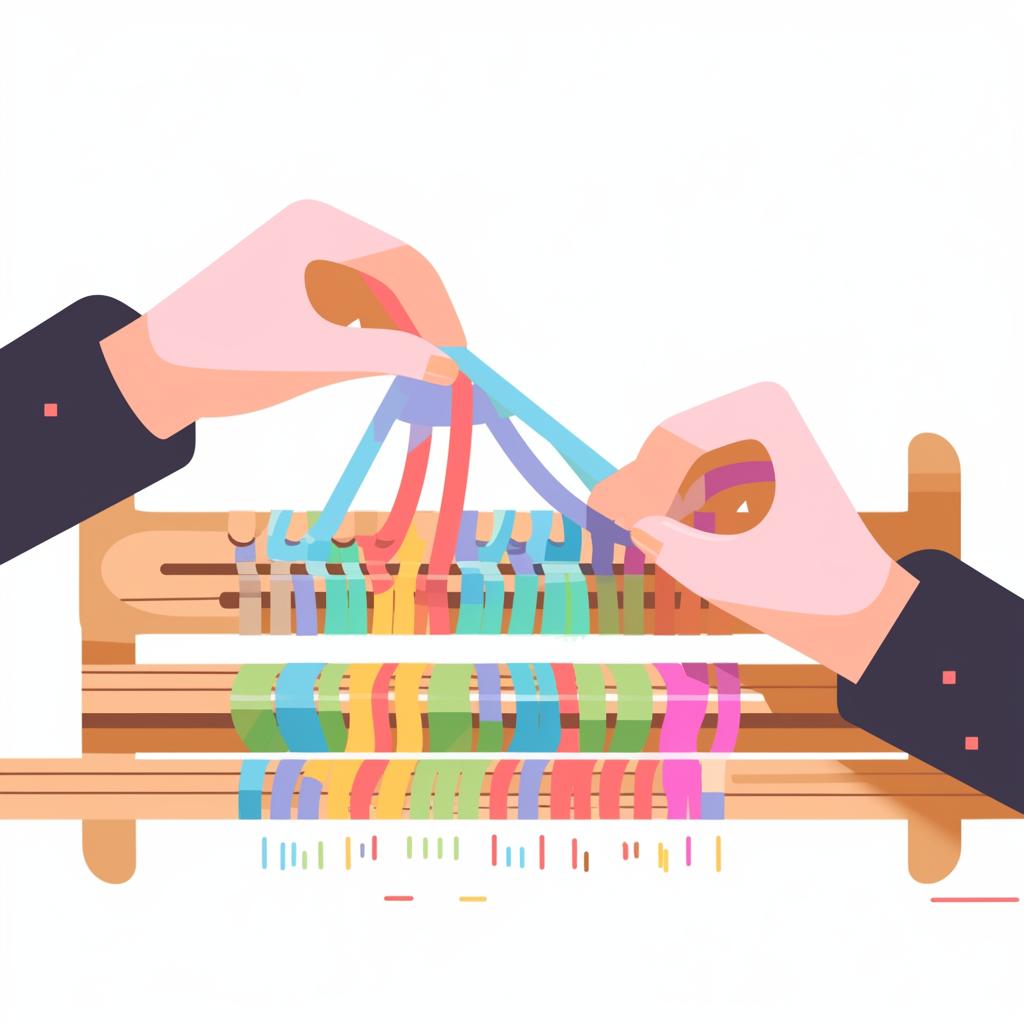
Imagine holding the reins of your creative spirit, guiding it through the vibrant labyrinth of yarn, looping and weaving until you've crafted something wholly unique. That's the magic of loom knitting for beginners, a journey that begins with understanding the basics.
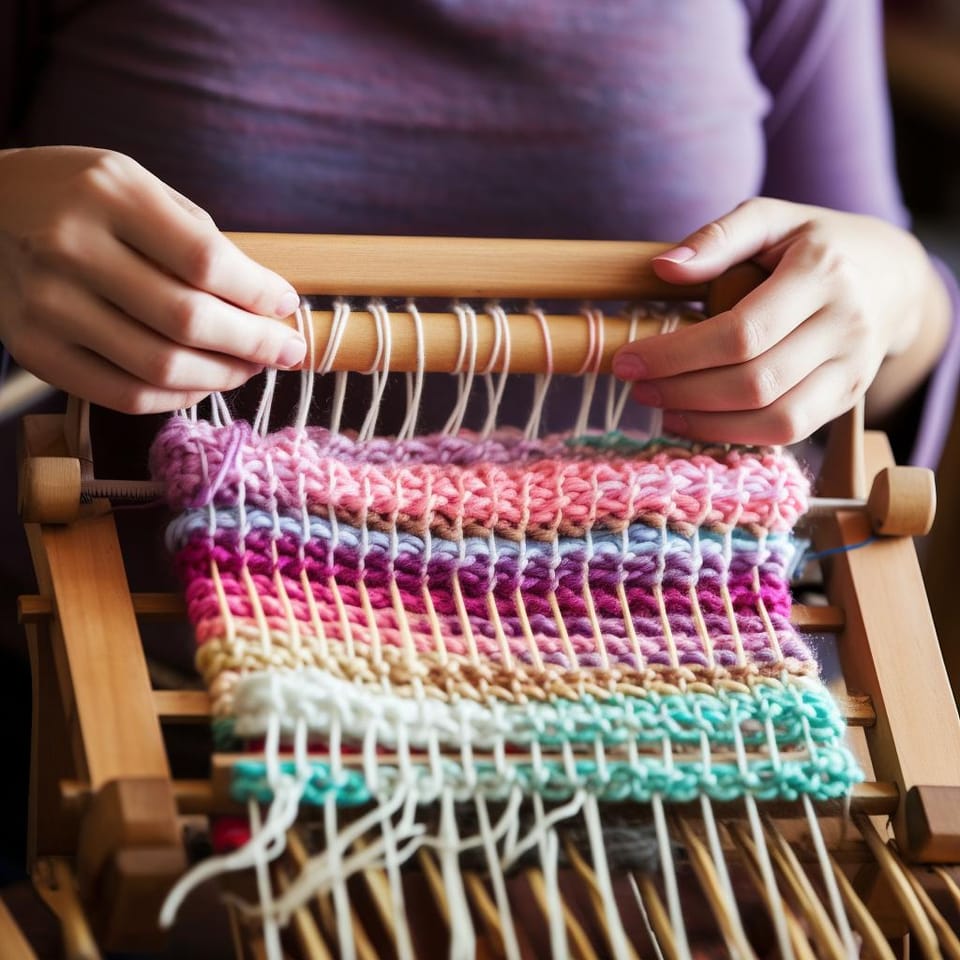
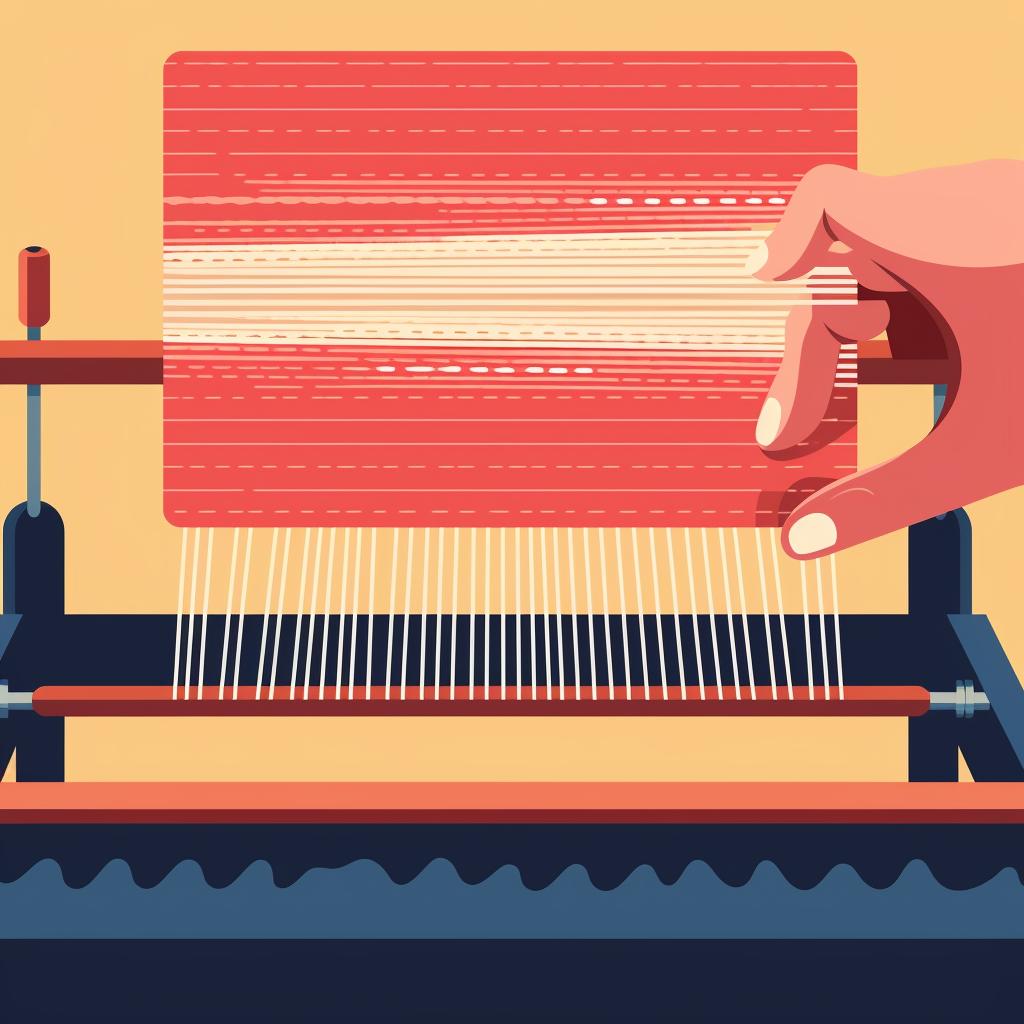
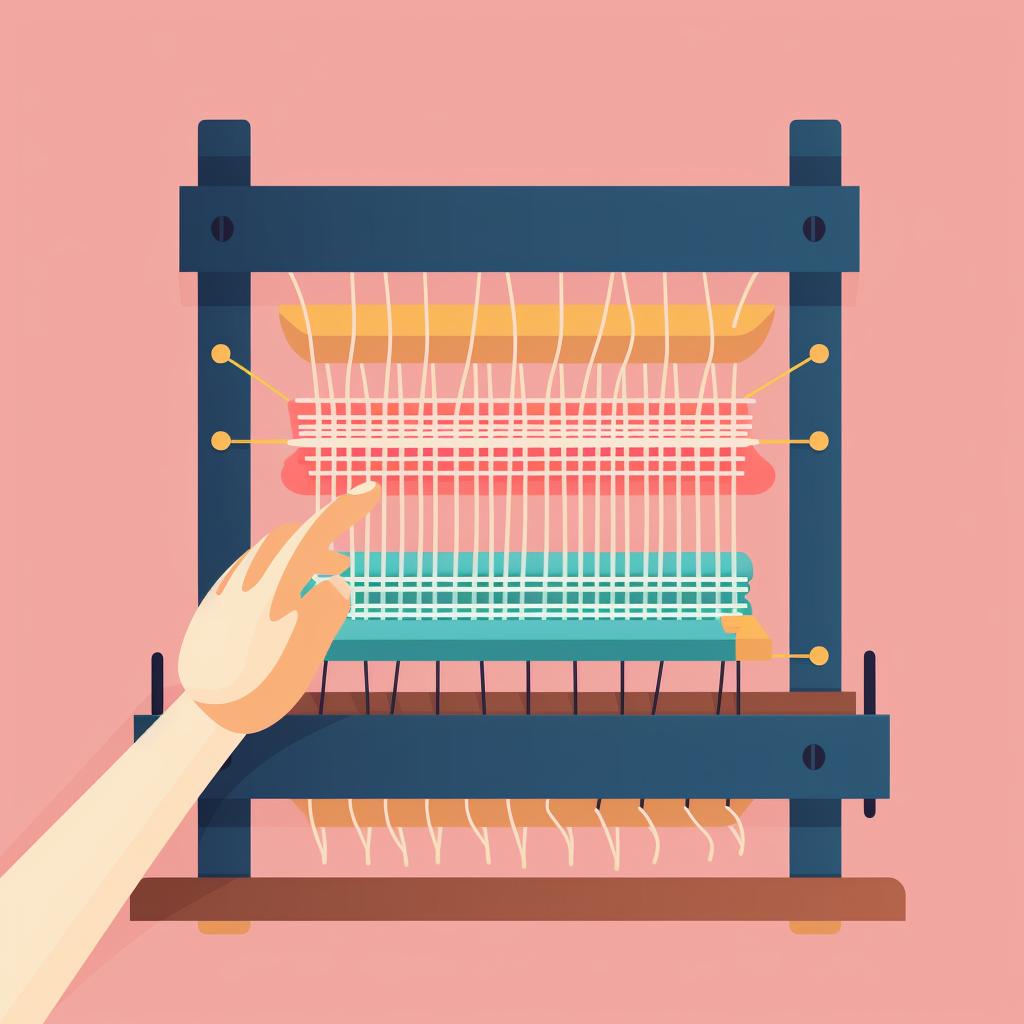
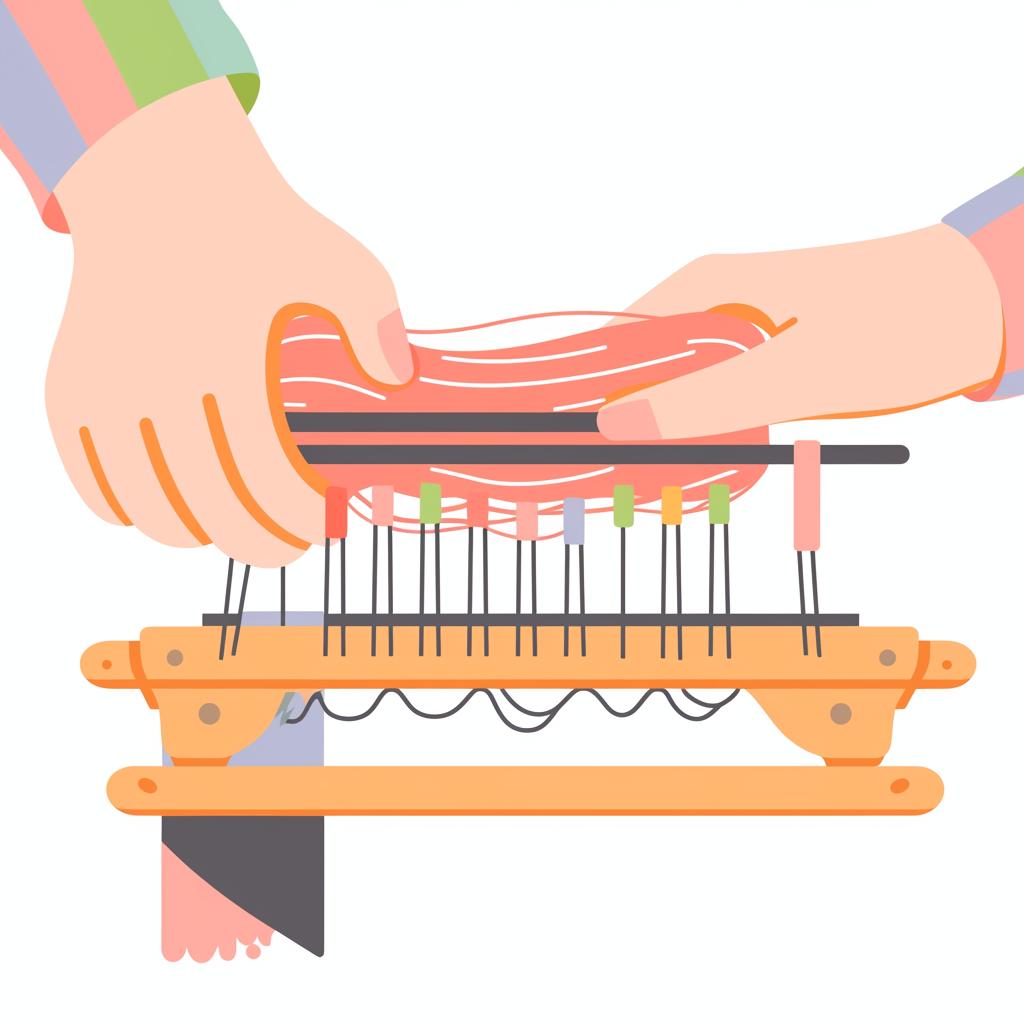
Ever felt like you're wrestling with a spider's web when threading a loom? Fear not! Threading your loom is as easy as following a baby hospital hat knitting pattern. You simply wrap the yarn around each peg in a clockwise direction, and voila, your loom is threaded! But what about creating those mesmerising stitches? Just like in crochet v knitting, it's all about the loop and pull. Whether you're going for the classic e-wrap, the intricate purl, or the versatile knit stitch, each one is a new dance step for your fingers to master.
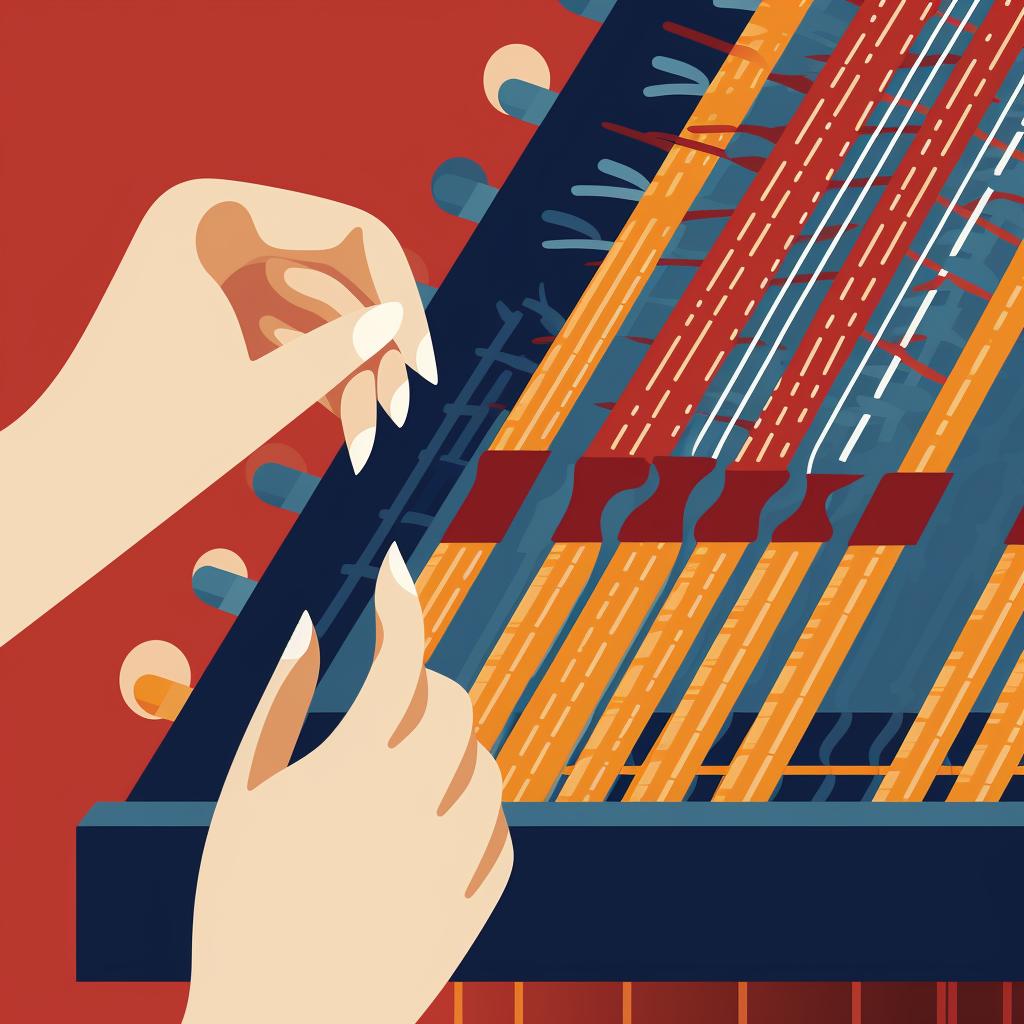
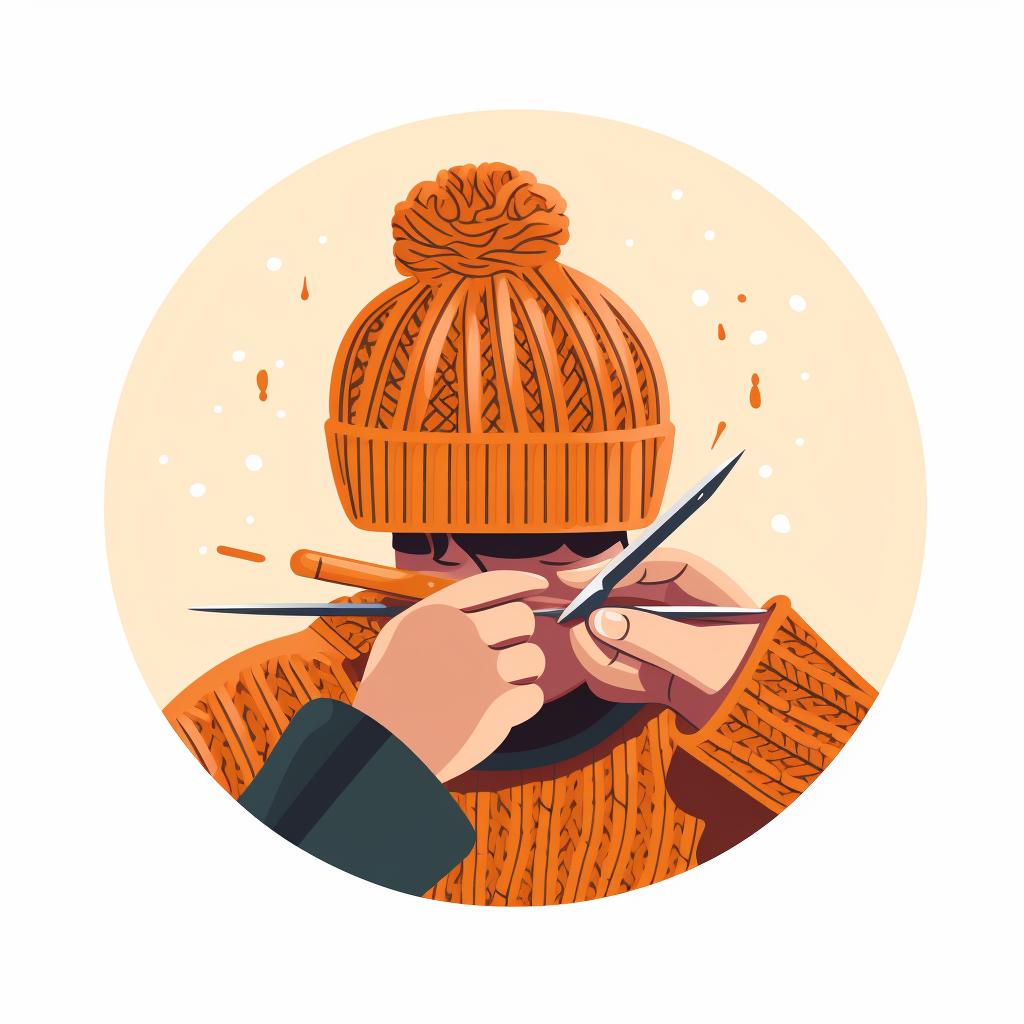
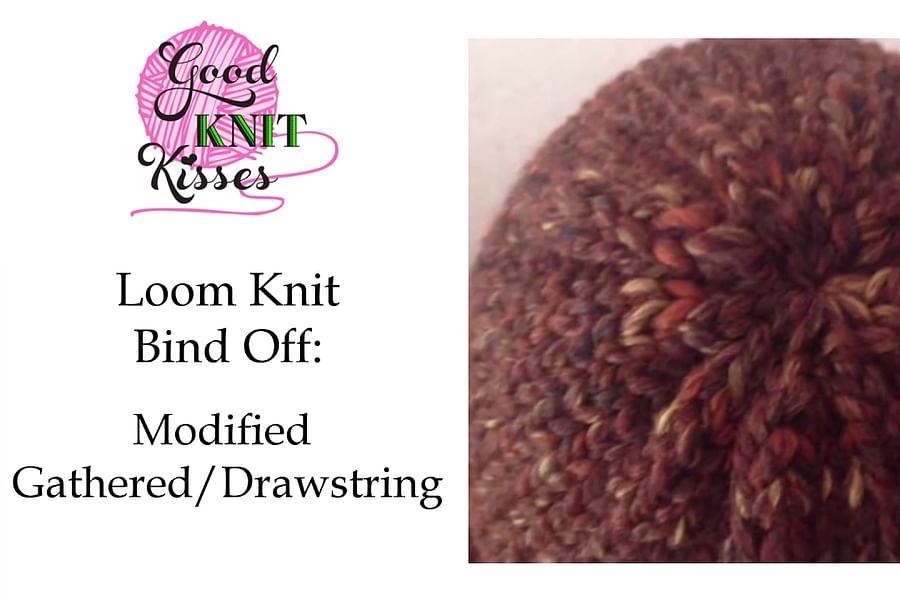
And finally, the grand finale - binding off. It's the casting on knitting guide's cousin, the final bow that secures your masterpiece. It's not as complex as deciphering knitting machine reviews, promise! It's simply a matter of lifting the bottom loop over the top one and off the peg. And there you have it - threading, stitching, and binding off, the holy trinity of loom knitting!
Now that we've covered the fundamentals, let's dive into the details. Here's a step-by-step guide to help you master threading the loom, creating stitches, and binding off.
Mastering the Basics of Loom Knitting
Learn more about 🧶 Mastering the Basics of Loom Knitting or discover other Knit Fluent guides.
With these techniques in your toolkit, you're ready to tackle some beginner-friendly projects. Let's get started!
First Steps: Simple Loom Knitting Projects to Boost Your Confidence 🚀
Ready to dive into the cozy world of loom knitting? You're in the right place! As you embark on this journey, you may be asking yourself, "What's the difference between crochet and knitting, anyway?" Well, while the two crafts have their similarities, they also have their distinct differences. Knitting, especially loom knitting, often results in a thicker, warmer fabric - perfect for those chilly winter nights!
Don't be intimidated. Loom knitting for beginners is a breeze, especially with the right guidance. We've curated a series of easy loom knitting projects that'll make you feel like a pro in no time. Each project is designed to gradually boost your confidence and skills. Think of it like attending a series of virtual knitting classes right in the comfort of your own home.
Before we dive into these projects, let's make sure you're well-equipped. In the next section, we'll be reviewing some top-notch knitting machines and tools that'll make your knitting journey as smooth as a well-crafted purl stitch. So, grab your coziest blanket, your favorite hot beverage, and let's get started!
Project 1: Craft Your Own Cozy Loom-Knit Scarf 🧣
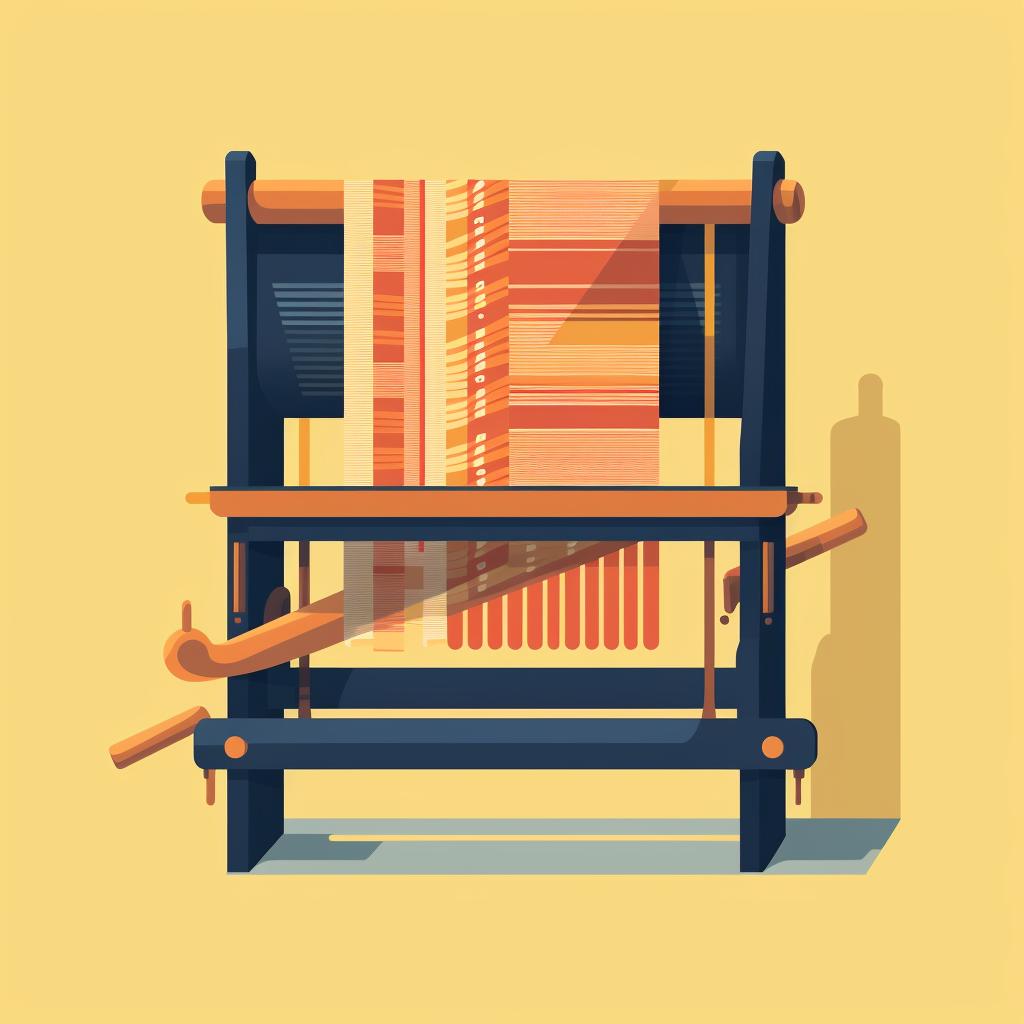
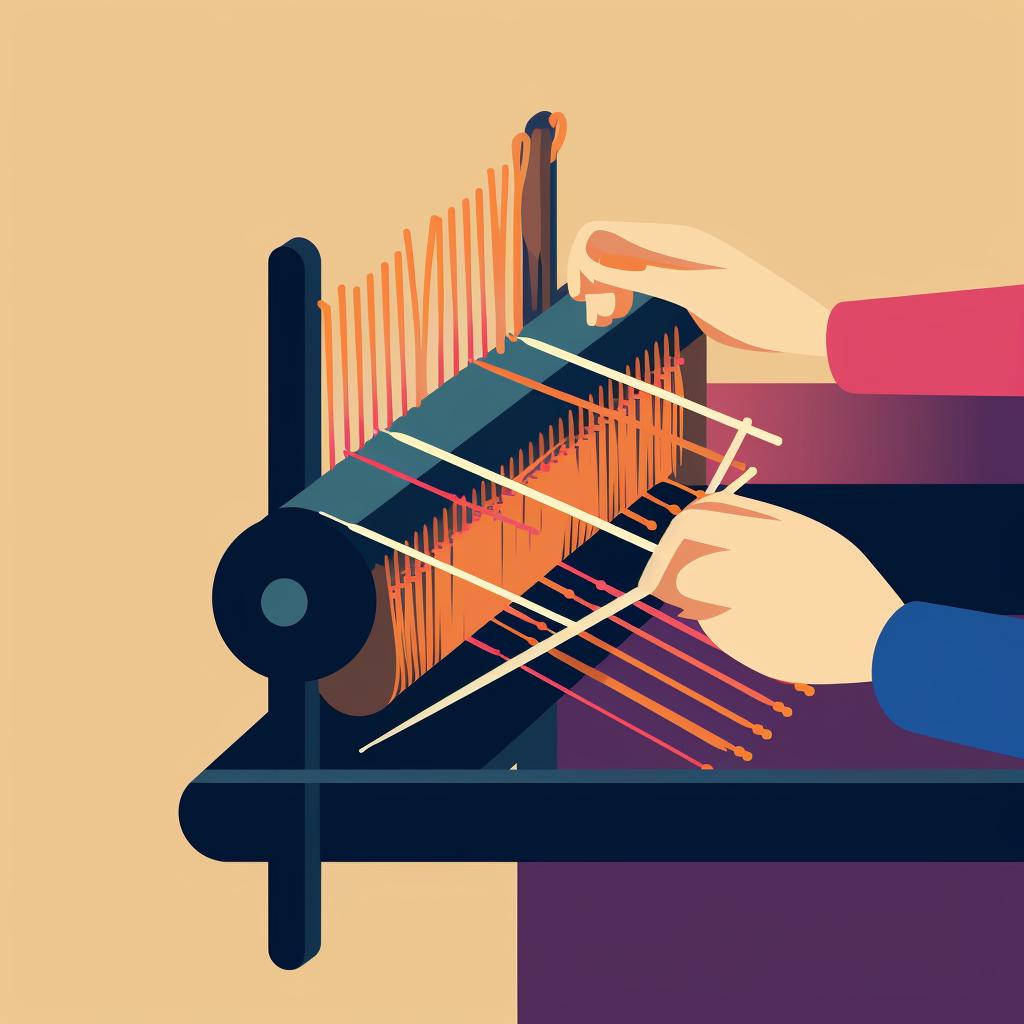
Ready to embark on your first loom knitting expedition? Let's dive into the captivating world of loom-knit scarves. For this project, we recommend a soft, medium-weight yarn - after all, who doesn't love a snuggly scarf? Now, before we set sail, remember our casting on knitting guide? Time to put it into action!
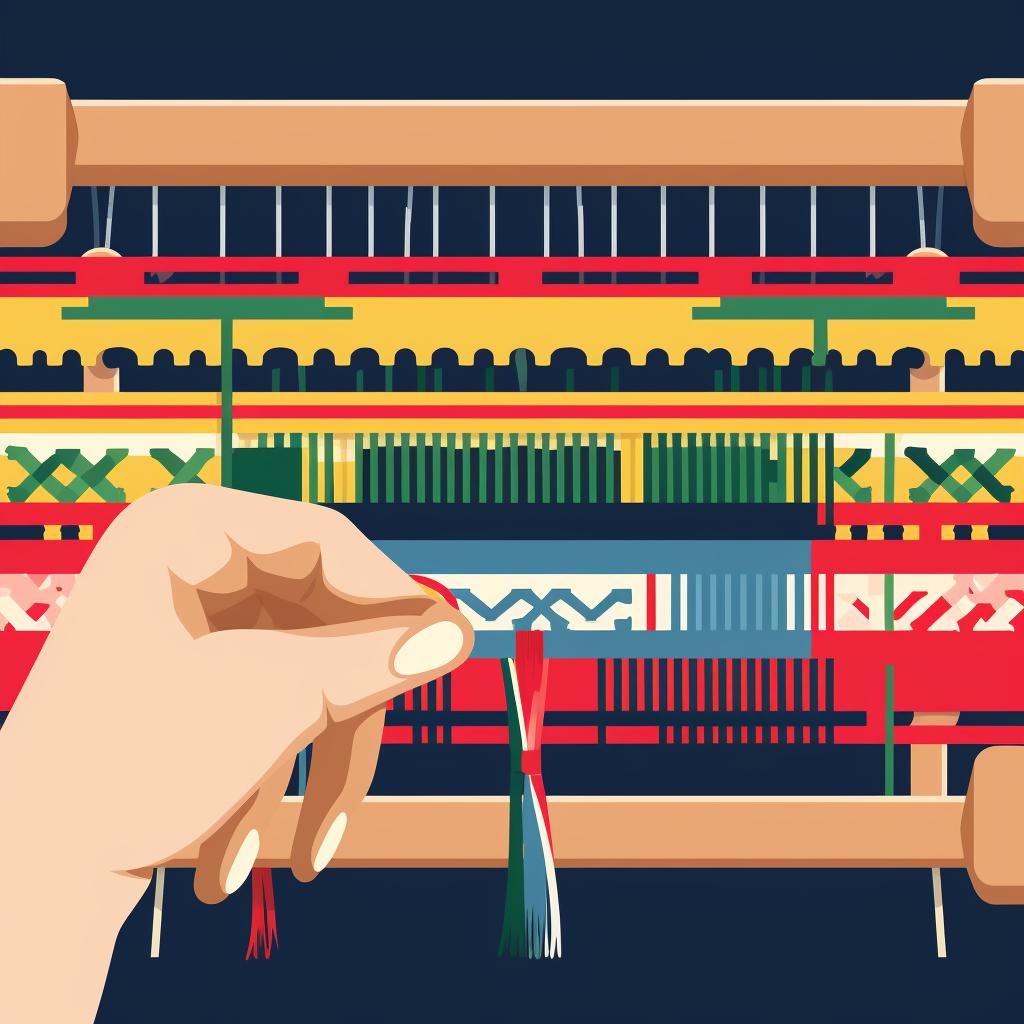
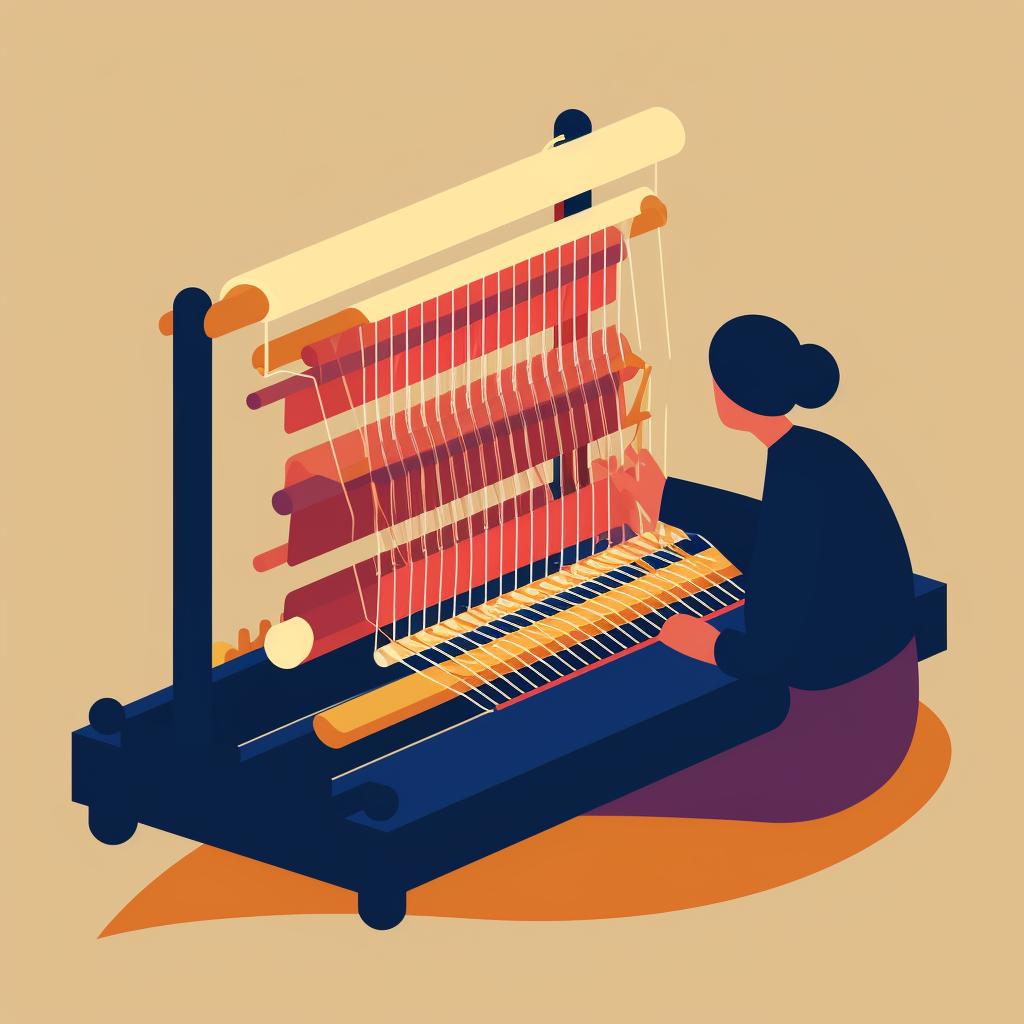
First, create a slipknot on the anchor peg of your loom. Then, using the e-wrap method, wrap each peg in a clockwise direction. Once you've completed one row, push the loops down and start your second row. This repetitive rhythm is the heartbeat of your knitting journey - soothing, isn't it?
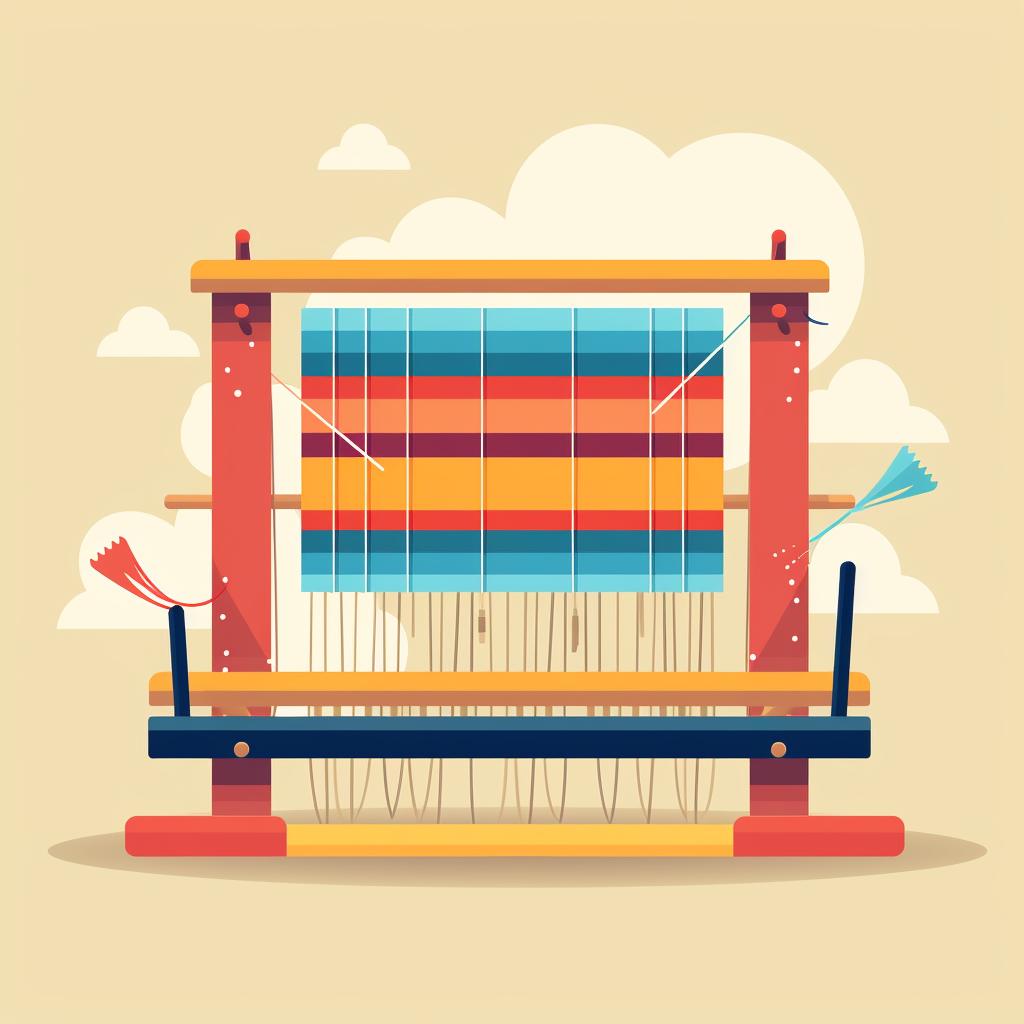
When your scarf has reached the desired length, it's time to cast off. Cut your yarn, leaving a long tail. Thread this through a yarn needle and weave it through your final row of loops. Then, gently remove the loops from the loom. Voila! You've just created your first loom-knit scarf.
Now, don't you feel like you've just scaled a crafty mountain and planted your flag at the summit? And remember, if you're looking for knitting classes near me, a quick search will reveal a world of possibilities. So, what's next on your knitting agenda? Perhaps a baby hospital hat knitting pattern or exploring the debate of crochet v knitting? Whatever it is, we're here to guide you every step of the way.
Now that we've covered the basics, let's dive into your first project. We're going to create a simple, yet stylish, loom-knit scarf. Don't worry, we'll walk you through every step of the way!
Knit Your First Loom Scarf: A Step-by-Step Guide


Learn more about Knit Your First Loom Scarf: A Step-by-Step Guide or discover other Knit Fluent guides.
Well done on completing your first loom knitting project! Ready for the next challenge? Let's move on to something a bit more complex – a cozy loom-knit hat. Don't worry, you've got this!
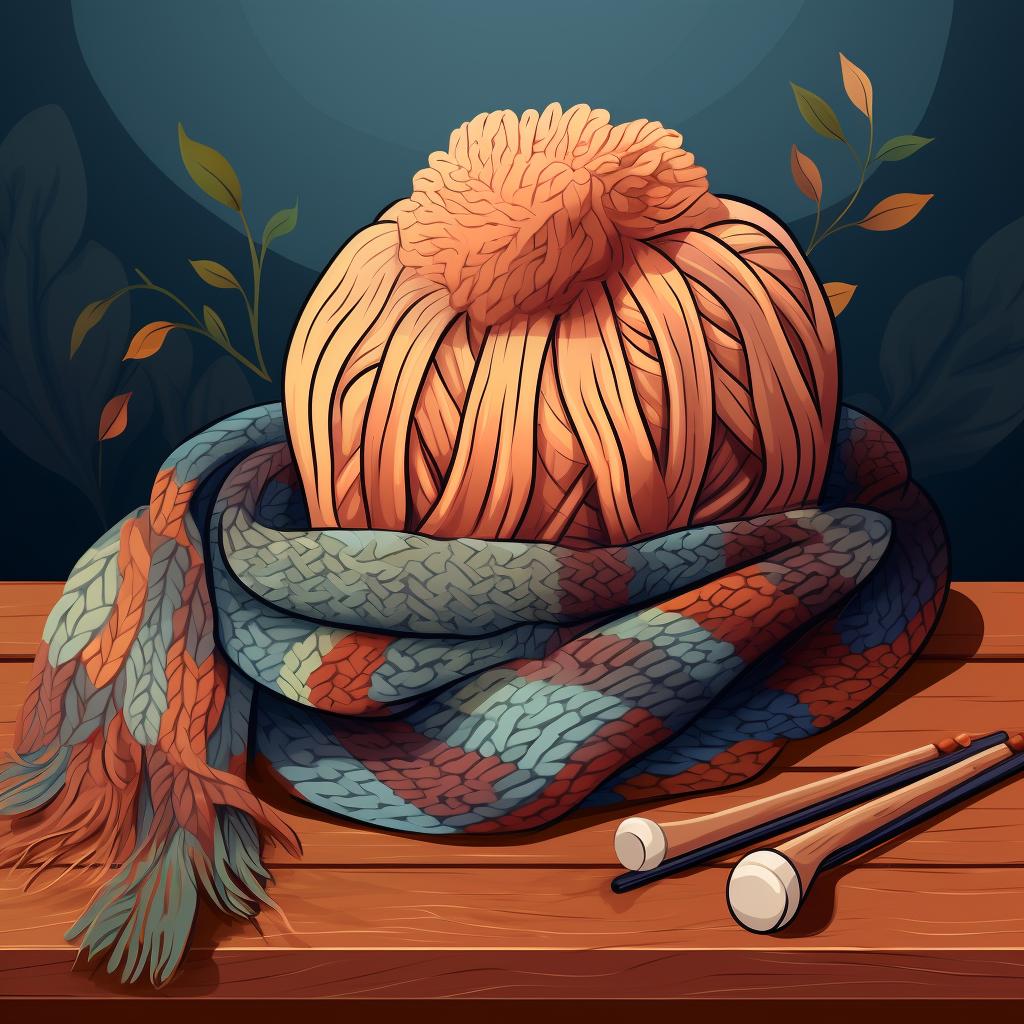
Project 2: Stay Warm with Your Handmade Loom-Knit Hat 🎩
Let's dive into the world of loom knitting with an easy project that's perfect for beginners: a cozy, loom-knit hat. This is where the fun really begins! Are you ready to transform a ball of yarn into a wearable piece of art?
First off, you'll need a medium-weight yarn for this project. I recommend a soft, washable wool blend - it's warm, easy to work with, and forgiving for newbies. You'll also need a round loom; check out our knitting machine reviews to find the best one for you.
Starting a project might seem daunting, but don't worry! Our casting on knitting guide is here to help. It's like learning to ride a bike; once you've got it, you'll never forget. And when it's time to finish, you'll learn how to bind off seamlessly, creating a hat even a baby would be proud to wear in the hospital. We even have a baby hospital hat knitting pattern for you to try!
So, why choose loom knitting over traditional knitting or crochet? Well, loom knitting is often easier for beginners to pick up, and it's just as versatile. Plus, there's something incredibly satisfying about watching your project grow row by row on the loom. So why not give it a go? You might just find your new favorite hobby.
Now that you've got your yarn and loom ready, let's dive into the fun part - creating your very own cozy loom-knit hat. Don't worry, we'll guide you through each step of the process.
Creating Your First Cozy Loom-Knit Hat
Learn more about 🧶 Creating Your First Cozy Loom-Knit Hat or discover other Knit Fluent guides.
Congratulations on finishing your first loom-knit hat! Now that you've mastered this, you're ready to take on the next project - a cute loom-knit headband. Let's keep the momentum going!
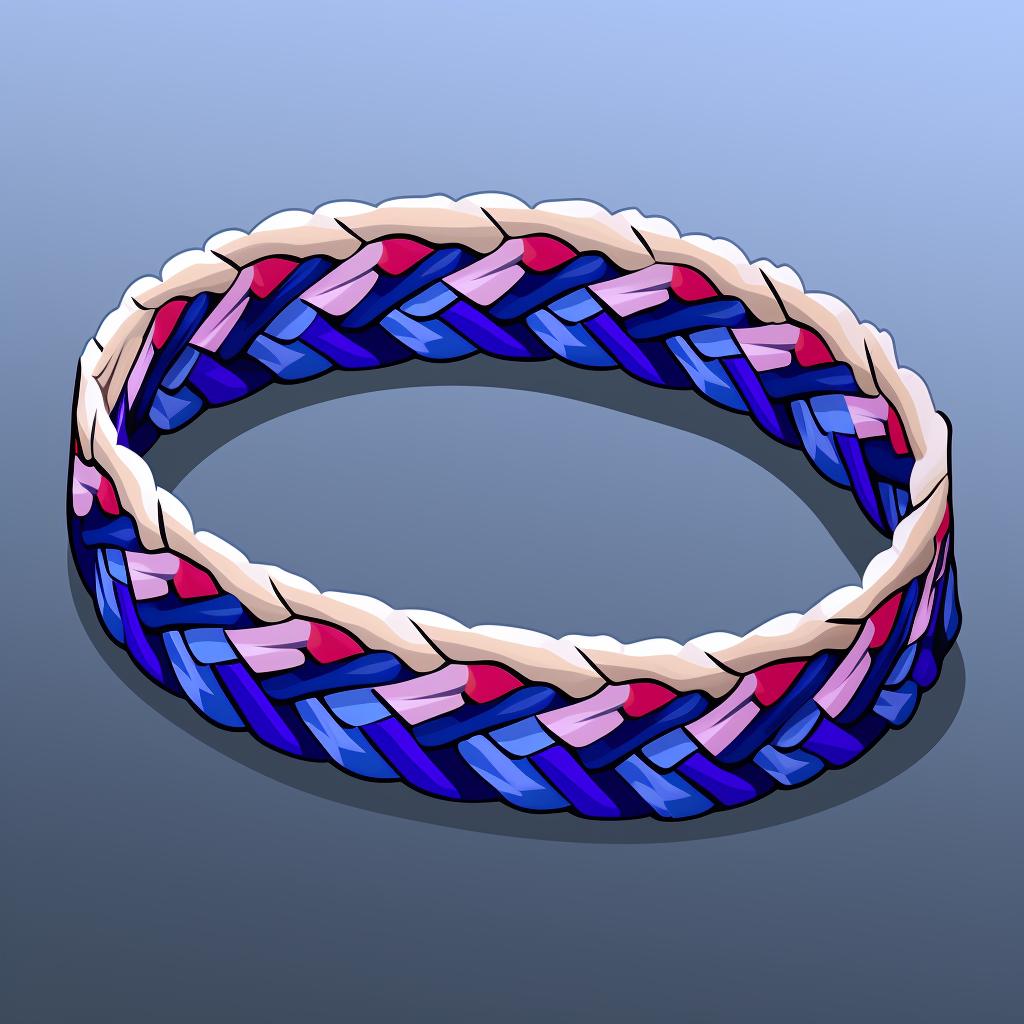
Project 3: Add Flair with a Charming Loom-Knit Headband 🎀
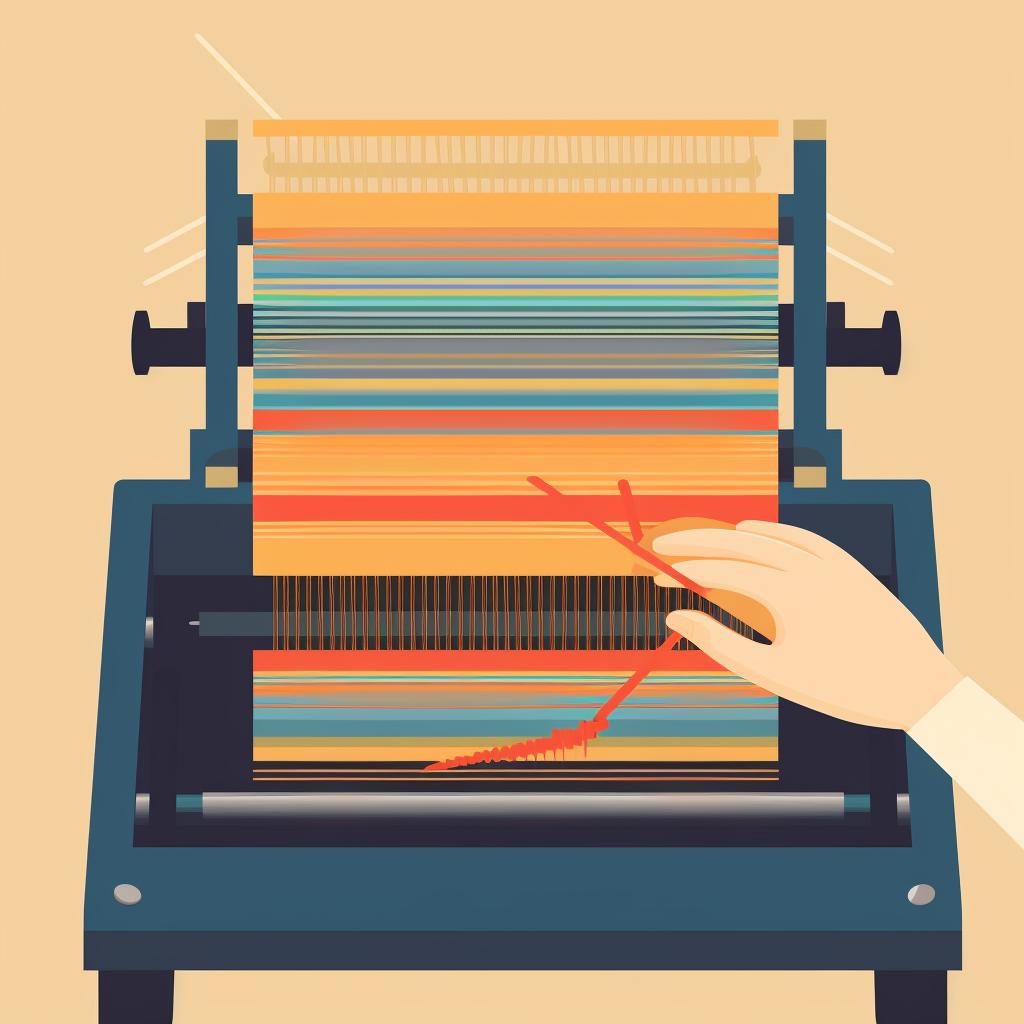
Dive into the world of loom knitting with our first easy project: a charming headband. Perfect for beginners, this project is a fun and quick way to get the hang of loom knitting. You'll need a round loom (preferably small to medium size), a loom hook, and your favorite yarn. We recommend a soft, medium-weight yarn - it's easy to work with and perfect for a cozy headband.
Starting your project is simple with our casting on knitting guide. Once you've cast on, you'll be creating rows of beautiful stitches in no time. The best part? It's easier than crochet v knitting, and just as rewarding.
When you've reached your desired length, finish off your headband with a simple bind off technique. Voila! You've created your first loom-knit masterpiece. Is it perfect? Maybe not. But remember, every stitch is a step on your loom knitting journey. So, why not start searching for knitting classes near me to keep the momentum going?
Ready to tackle more easy loom knitting projects? Stay tuned for our baby hospital hat knitting pattern, coming up next.
Now that you're familiar with the basics of loom knitting, let's dive into a fun and easy project: a cute loom-knit headband. This is a great project for beginners, and it's also a quick and satisfying one. Let's get started!
Creating Your First Loom-Knit Headband: A Step-by-Step Guide

Learn more about 🧶 Creating Your First Loom-Knit Headband: A Step-by-Step Guide 🧣 or discover other Knit Fluent guides.
Well done on completing your first loom-knit headband! Keep practicing, and soon you'll be able to tackle more complex projects. Now, let's move on to some tips and tricks to help you continue improving your loom knitting skills.
Master the Art: Pro Tips for Smoother Loom Knitting 🏆
Knitting and crochet may seem like two peas in a pod, but loom knitting is a whole different ball of yarn. It's like the cool cousin who shows up at family reunions with a brand-new trick up their sleeve. You might be wondering, "Why loom knitting?" Well, let me tell you, it's the perfect blend of both knitting and crochet, offering the texture of knitting with the ease of crochet. You might even find it easier than using a knitting machine, and it's definitely more hands-on!
Remember those baby hospital hats you admired, the ones with the perfect knit? You can create that too! With our easy-to-follow baby hospital hat knitting pattern, you'll be knitting up a storm in no time. And, if you're wondering, "Are there knitting classes near me?" We've got you covered. Online tutorials and local workshops can help you master the art of loom knitting.
Ready to cast on? Let's dive into some easy loom knitting projects. From a cozy scarf to a cute headband, we'll guide you every step of the way. So grab your loom, your yarn, and your adventurous spirit, and let's get knitting!
Top Tips for Loom Knitting Success
- Choosing the Right Yarn - Select a yarn that matches your project. For beginners, medium-weight yarn is often the easiest to work with.
- Maintaining Even Tension - Consistent tension is key for even stitches. Practice makes perfect, so keep knitting!
- Fixing Common Mistakes - Don't panic if you make a mistake. Most errors, like dropped stitches, can be easily fixed.
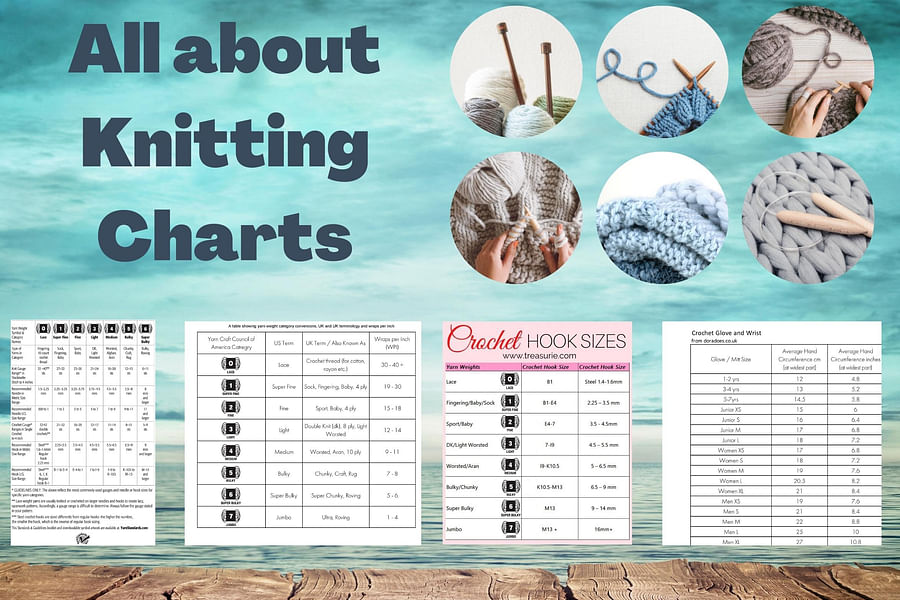
- Understanding Yarn Weights - Yarn comes in different weights, from lace to super bulky. The weight affects the texture and size of your finished project.
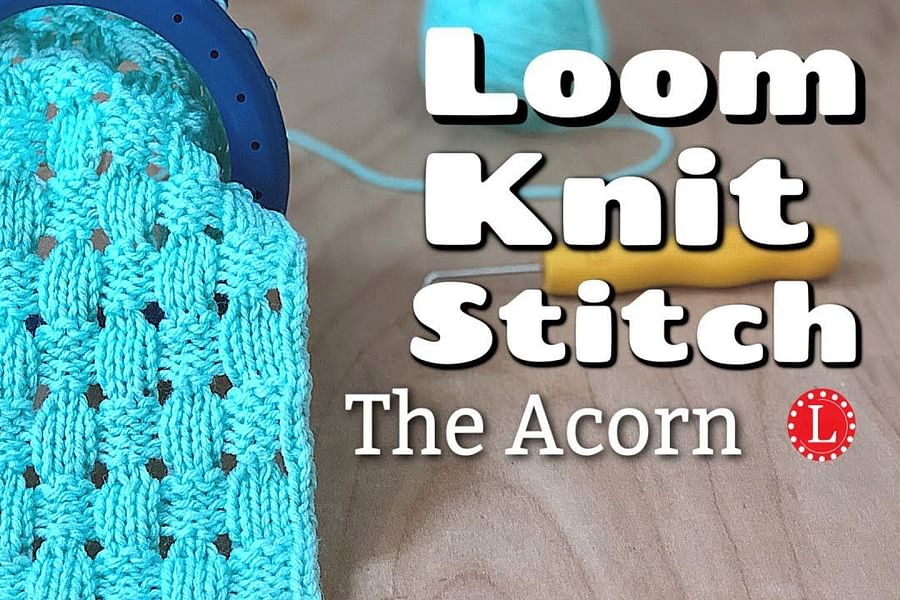
- Mastering Basic Stitches - Start with simple stitches like the e-wrap and purl. Once you're comfortable, try more complex stitches.
- Finishing Your Project - Learning how to properly finish your project, like binding off, gives it a professional look.
Ready for More? Elevate Your Loom Knitting Skills 🌟
Oh, the magic you've woven with those loom knitting projects! You've dazzled with the scarf, the headband, and the cozy hat. And guess what? This is just the beginning of your journey into the loom-knit world.
Ready to leap into the next level? How about a baby hospital hat knitting pattern? We all know there's nothing more precious than a newborn's first hat. Or, maybe it's time to explore the world of knitting machines. Before you dive in, do check out some knitting machine reviews to find the perfect fit for your needs.
And remember, there's always more to learn. If you're looking for some guidance, search 'knitting classes near me.' You might be surprised at how many fellow loom enthusiasts are just around the corner.
Remember when we first started, and you were weighing the pros and cons of crochet v knitting, and wondering about the casting on knitting guide? Now, look at you, a loom knitting champion!
As you continue your journey, remember: every stitch tells a story. Your loom is your canvas, and the yarn, your paint. So, go forth, experiment, and create your masterpiece!
No comments yet. Be the first to share your thoughts!